This post contains affiliate links. This means if you click and purchase, we might make a commission at no cost to you.
The Quick Cut Harvester (QCH) is a critical tool for any small farmer looking to generate profit from growing baby greens. This harvesting tool is both ingenious and life-changing. Its initial cost can easily be recovered in one season due to the time saved by its use. Put down your knives, and get ready to adopt the most important tool for growing baby greens!
What Is a Quick Cut Greens Harvester?
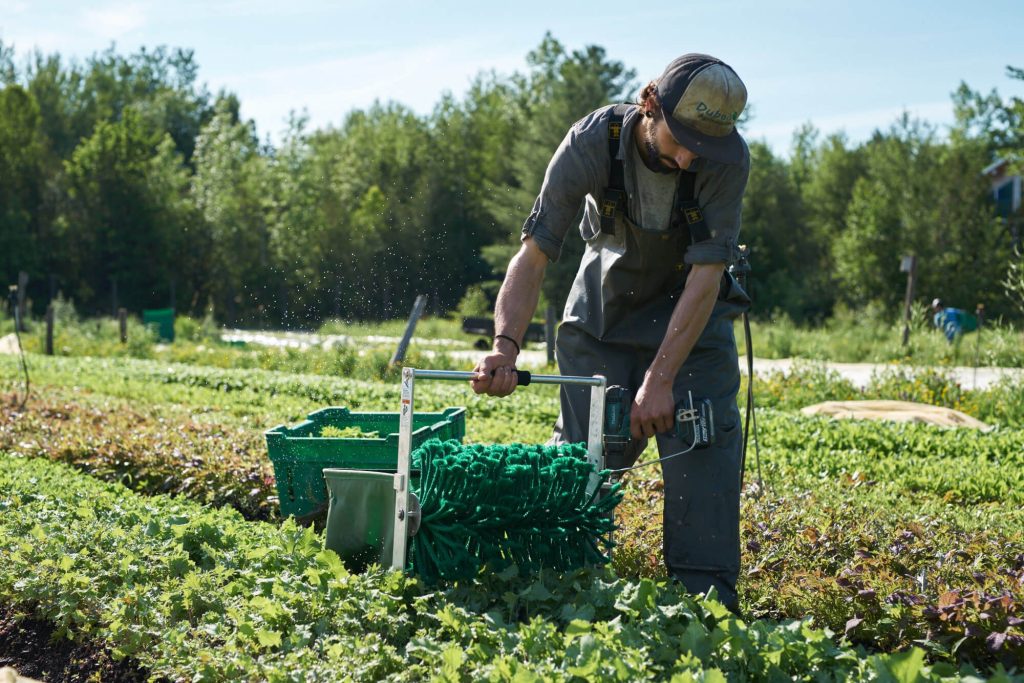
The Quick Cut Greens Harvester (QCH) is a small tool made of a blade that moves horizontally and is activated by a drill. The blade cuts the greens at the height desired by the operator while strips of rope turn and place the leaves in the basket. It was invented by Jonathan Dysinger and is sold by Farmers Friend. This tool can be used to harvest baby greens like kale, mustard, arugula, spinach, etc.
Why Use the Quick Cut Greens Harvester?
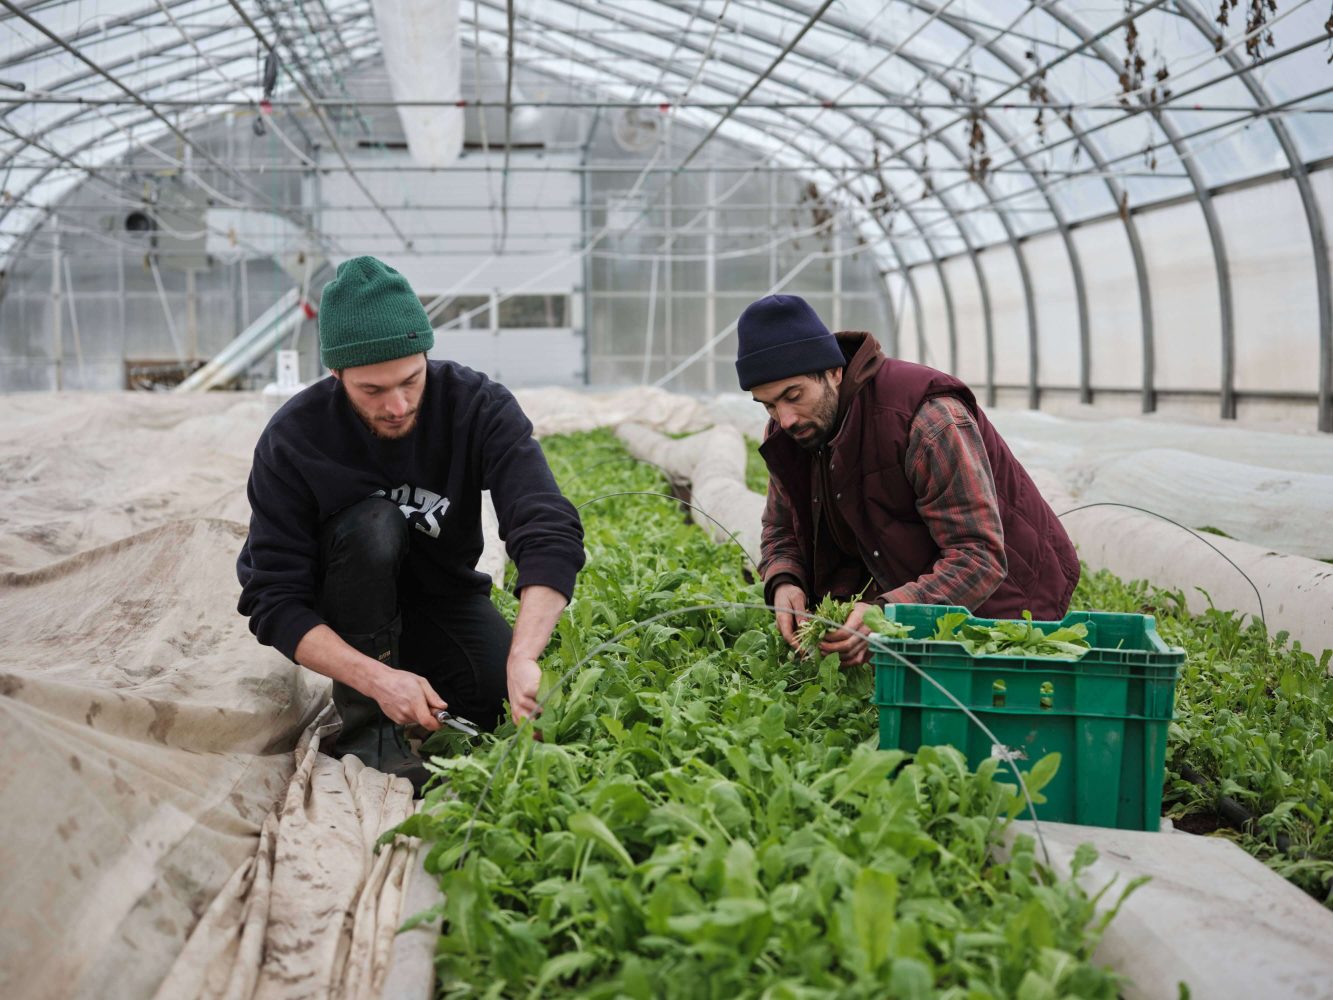
Instead of cutting greens with field knives, by using the QCH the work can be accomplished 10x faster. This process has changed from involving two people cutting by hand for four hours to one person using the Quick Cut Harvester and finishing the job in just 45 minutes. Needless to say, it’s a major helper during our busy (often too busy!) harvest days. By using the Quick Cut Harvester, one operator can cut up to 175 lbs/hour, which is an incredible amount to harvest in such a short time! This is why the Quick Cut Harvester is the most important tool for growing baby greens.
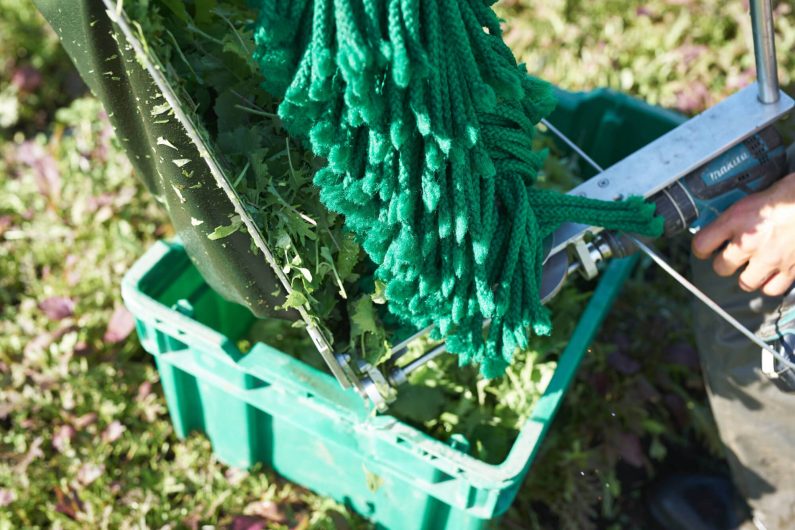
Saving time is not the only advantage of this tool. It is also very adaptable: the operator can cut the crop at the height of their choice. This feature is particularly useful when the crop is overgrown or uneven. The Quick Cut Harvester is also lightweight and therefore, very easy on the back.
How to Use the Quick Cut Harvester?
The Quick Cut Harvester is relatively easy to use, but knowing a few tricks can lead to big improvements right away.
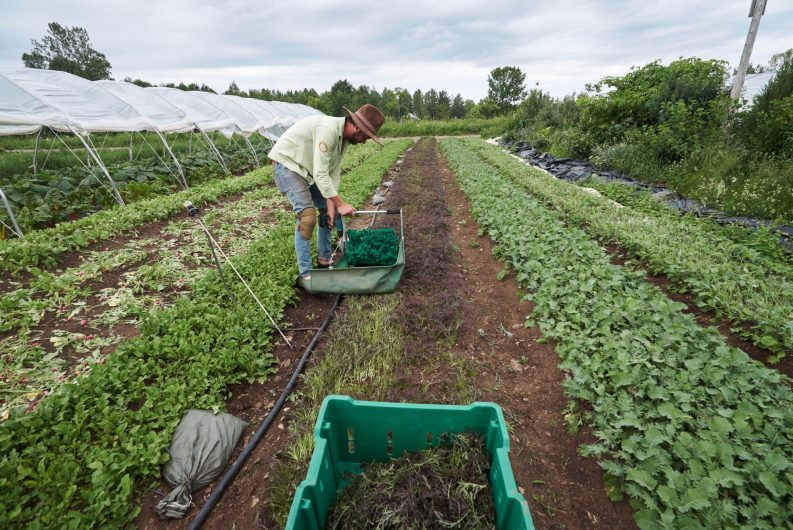
First, start by placing your harvest bins on the bed. Place one in the center of the bed and another at the beginning of the bed.
Then, firmly install your drill on the tool and test it. Remember to always bring extra batteries to the field – the Quick Cut Harvester requires lots of energy to function and if you have a large quantity of greens to harvest, you may need to have some backup batteries on hand.
It’s now time to harvest! Start on one side of the bed. Note that there are many techniques for how to walk while using this tool and they will vary depending on your own comfort and the stage of the crop. The most important thing to remember is to keep your legs away from the blade. We say this because the blade is very…very…very sharp. It is a serious safety hazard and the operator should always be attentive to its placement. While using the Quick Cut Harvester, to reduce any threat of serious injury, we advise zero distractions, so no music, no friends, no phone: only you and your crop!
Once you start walking, harvest one side of the bed until the middle bin. Empty your basket there. Then, start walking back towards the end of the bed by harvesting the other side of the bed. Empty your basket there. The objective is to minimize your traction during this task in order to gain time.
Taking Care of Your Quick Cut Harvester
In order to ensure the effectiveness of this tool, make sure to keep the blade of your Quick Cut Harvester ultra-sharp. We recommend buying a few replacement blades for backup. It can be easily replaced and depending on how much you use the tool per week, this task should become part of your regular tool maintenance schedule. For example, if you typically harvest multiple beds (i.e. 4-5) per week, you should replace your blade approximately every two to three weeks or a bit more.
The strap can also be replaced once it feels worn out or if it tends to fall off the tool too easily. It’s also a good idea to buy a few replacement straps when purchasing the Quick Cut Harvester. Having these extra parts on hand will make all the difference! In case of a surprise incident, you will never have to revert to using your knife.
You are now ready to scale up your crop of greens! The Quick Cut Harvester will be your best ally for this endeavor and will earn the reputation of being the most important tool for growing baby greens. Once you’ve learned these techniques, consider advancing to the next step: using your Quick Cut Harvester to harvest your baby greens.
If you need more resources to help you decide which tools you need or to learn the best practices for using any market gardening tools efficiently, join the Market Gardener Masterclass, where you’ll learn these strategies and much, much more.

