

Opening gardens is always an important phase when establishing a small-scale farm. To do this, organic agriculture has different approaches, each consisting of several steps, which can create confusion.
More and more people are following the concepts of permaculture whereby the soil should be worked as little as possible to ensure the sustainability of its fertility. Should this method also be used to open new gardens? As in many cases in agriculture, the context must be taken into account in order to choose the right approach.
Before Opening Your Gardens
No matter which method you choose to open your gardens, the soil should be your primary focus. Neglecting this step can have major impacts in the short and long term. You risk sub-optimal yields, delayed entry into the field at the beginning of each season, and wasted energy and resources.
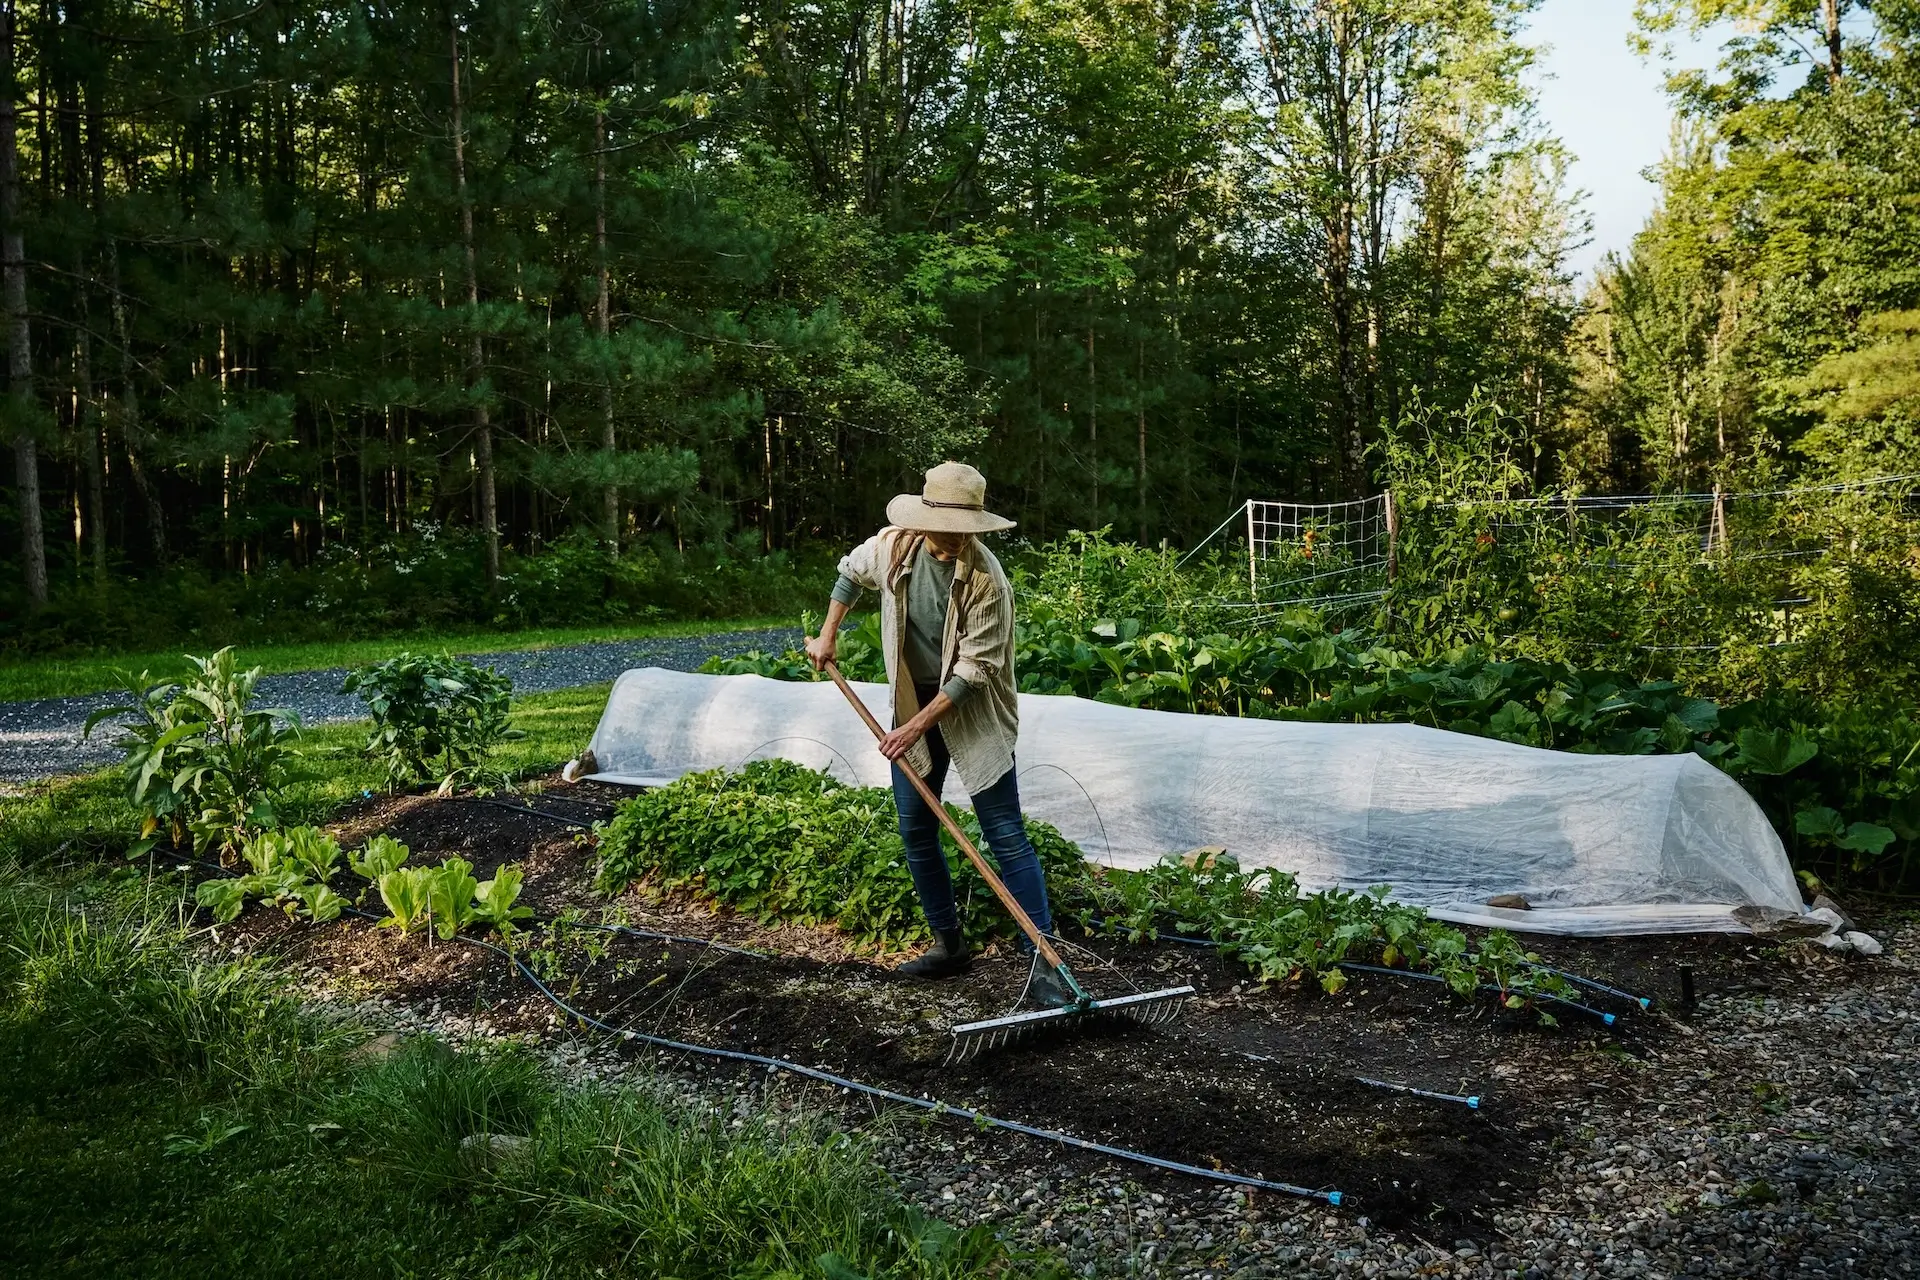
First, do a soil test at an environmental lab to determine soil texture, missing nutrients and reactivity (pH). Then, dig soil profiles by making holes at least 2 ft (60 cm) deep. The profiles allow you to assess, among other things, the height of the water table and the level of soil compaction.

Credit photo: Jessica Théroux
Taking an interest in the soil before opening your gardens will help you determine if the soil drains well and if it needs to be decompacted or corrected. If the soil does not drain well, you should consider carrying out drainage work and creating ditches (or deepening existing ones). If it is deeply compacted, you should consider subsoiling. Ask the mechanized farms near your farm, they sometimes have the equipment and expertise to carry out a subsoiling operation.
Opening Your Gardens Without Power Tools
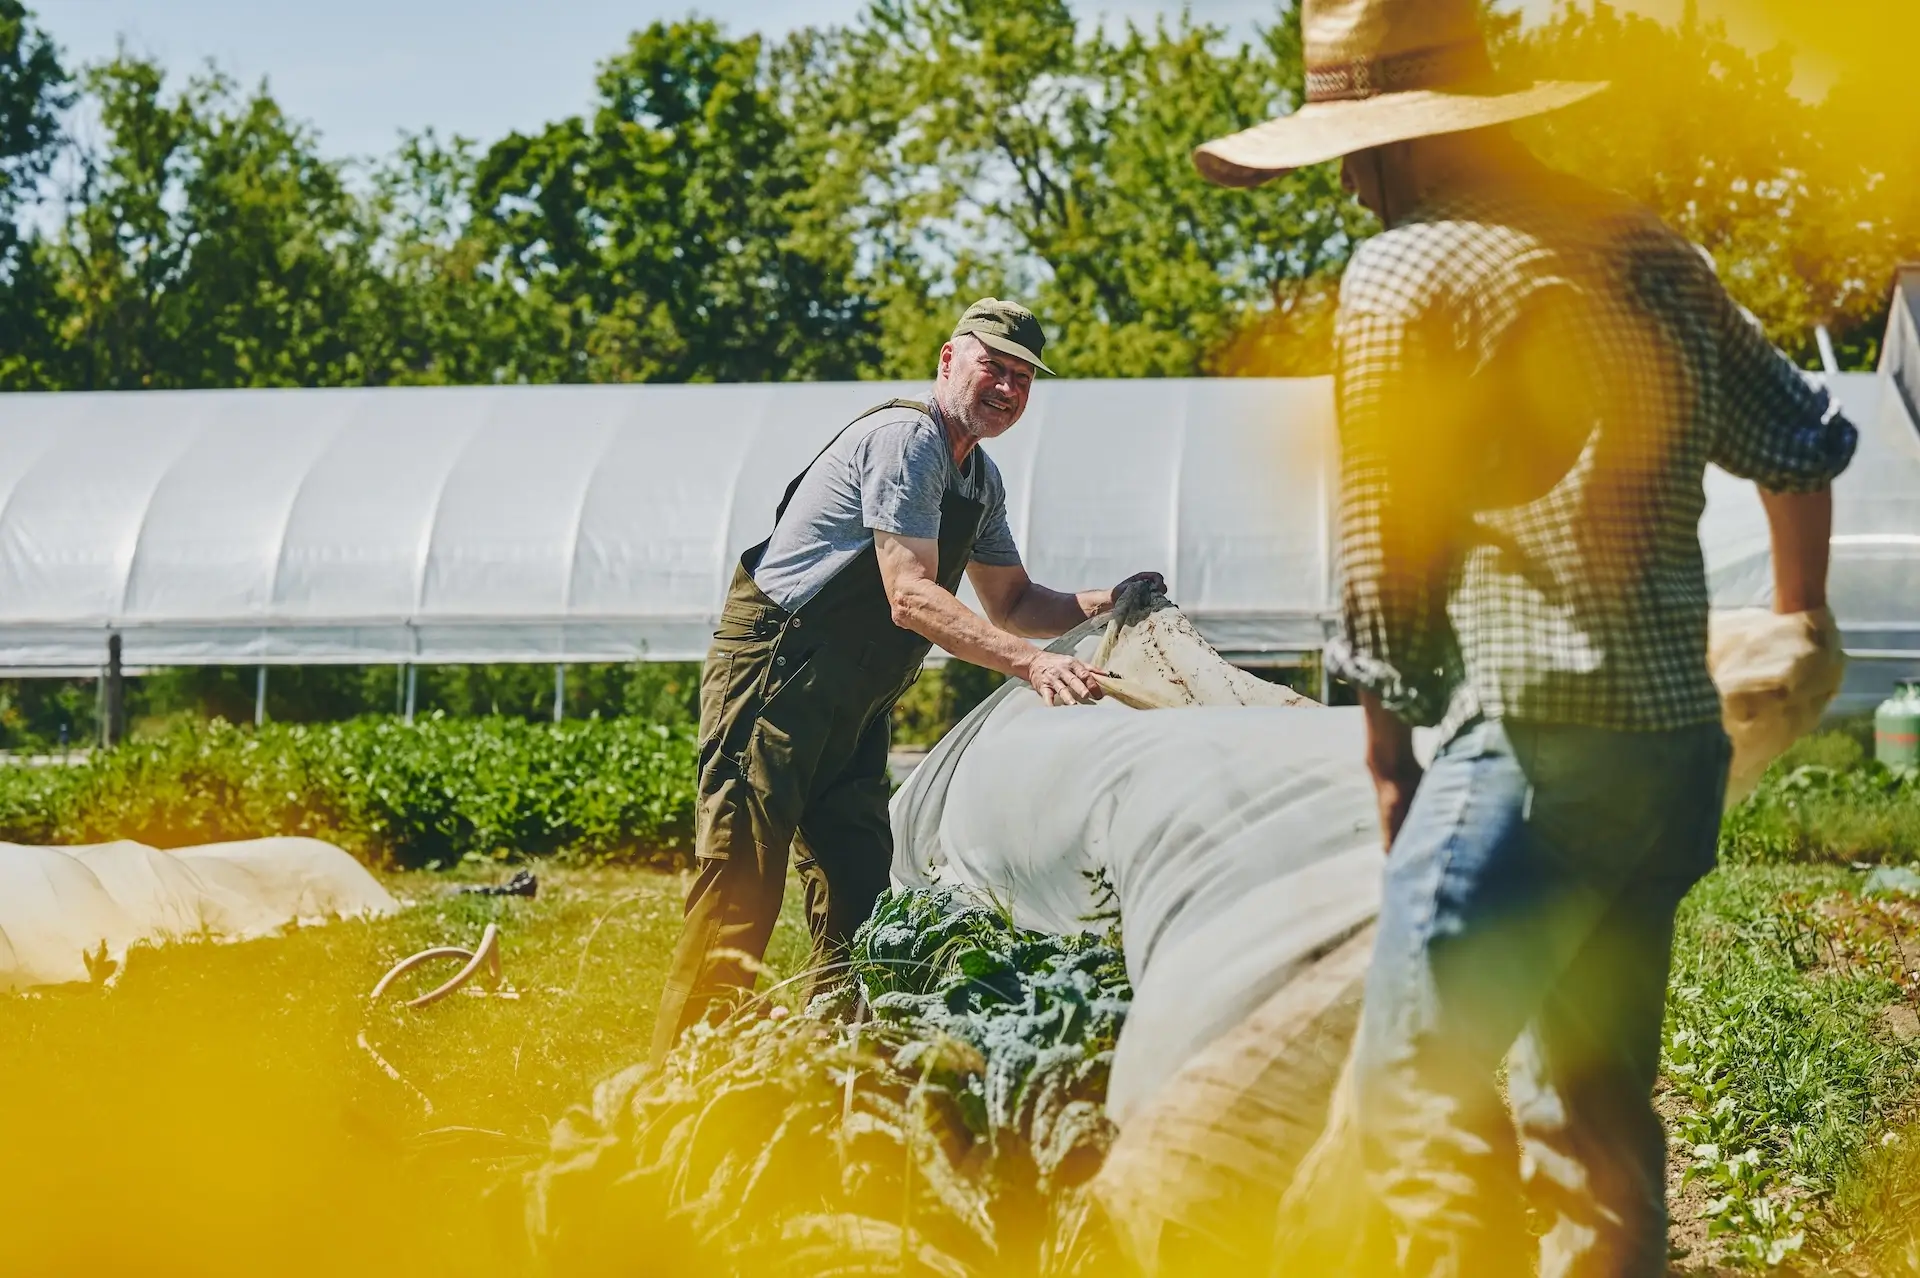
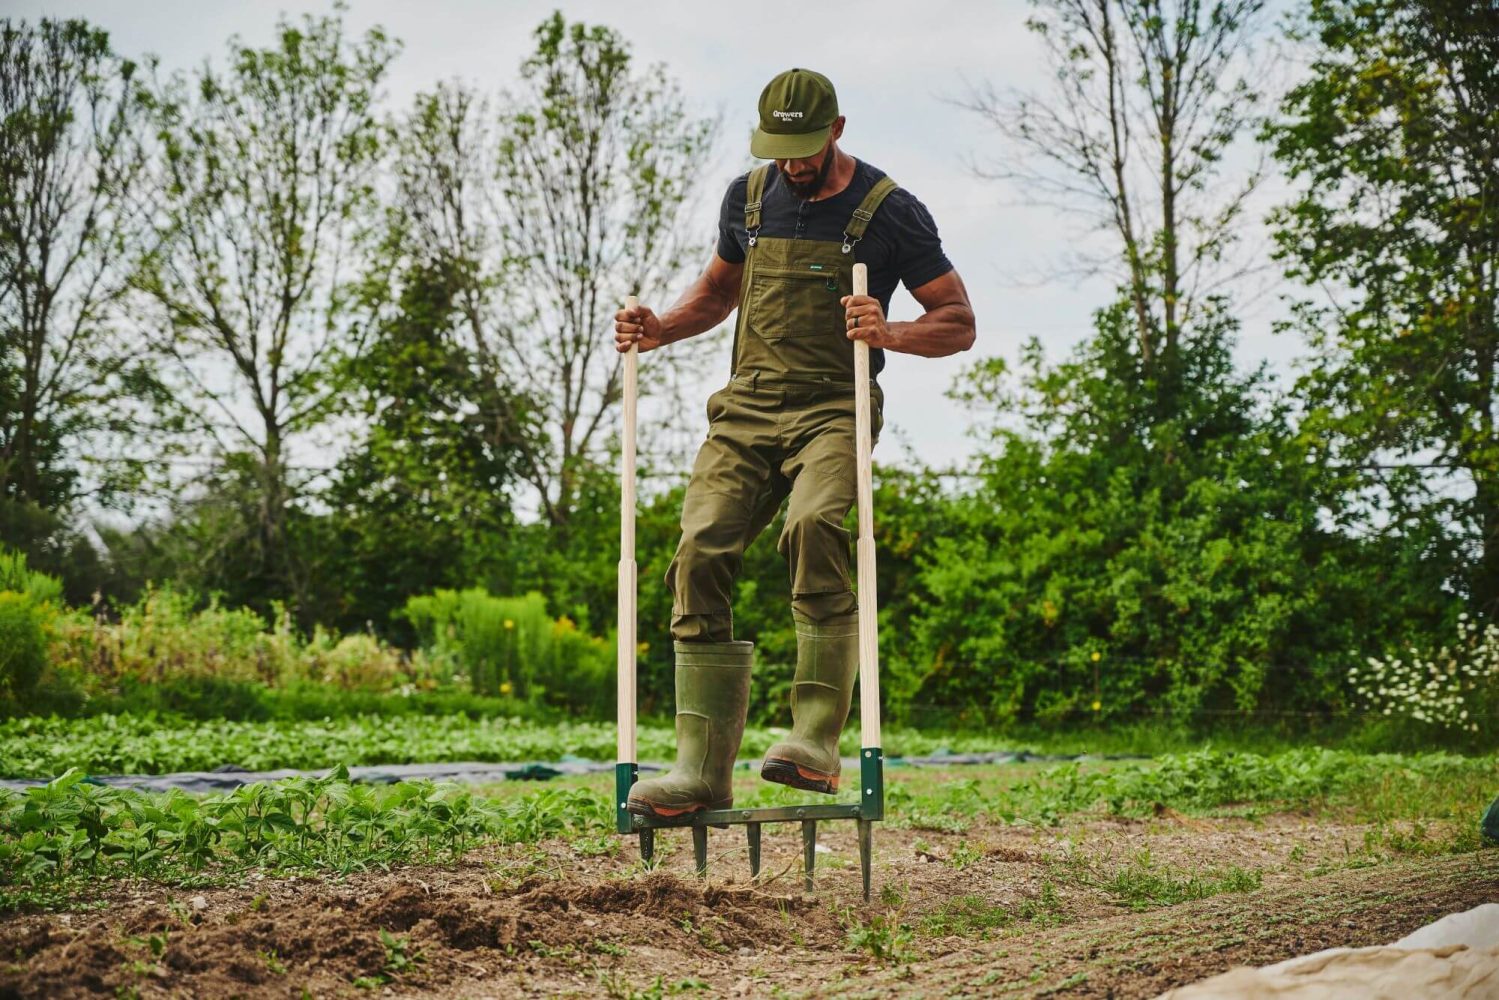
When the soil is already healthy, not compacted, and you have enough time, you can open up your gardens without using power tools.
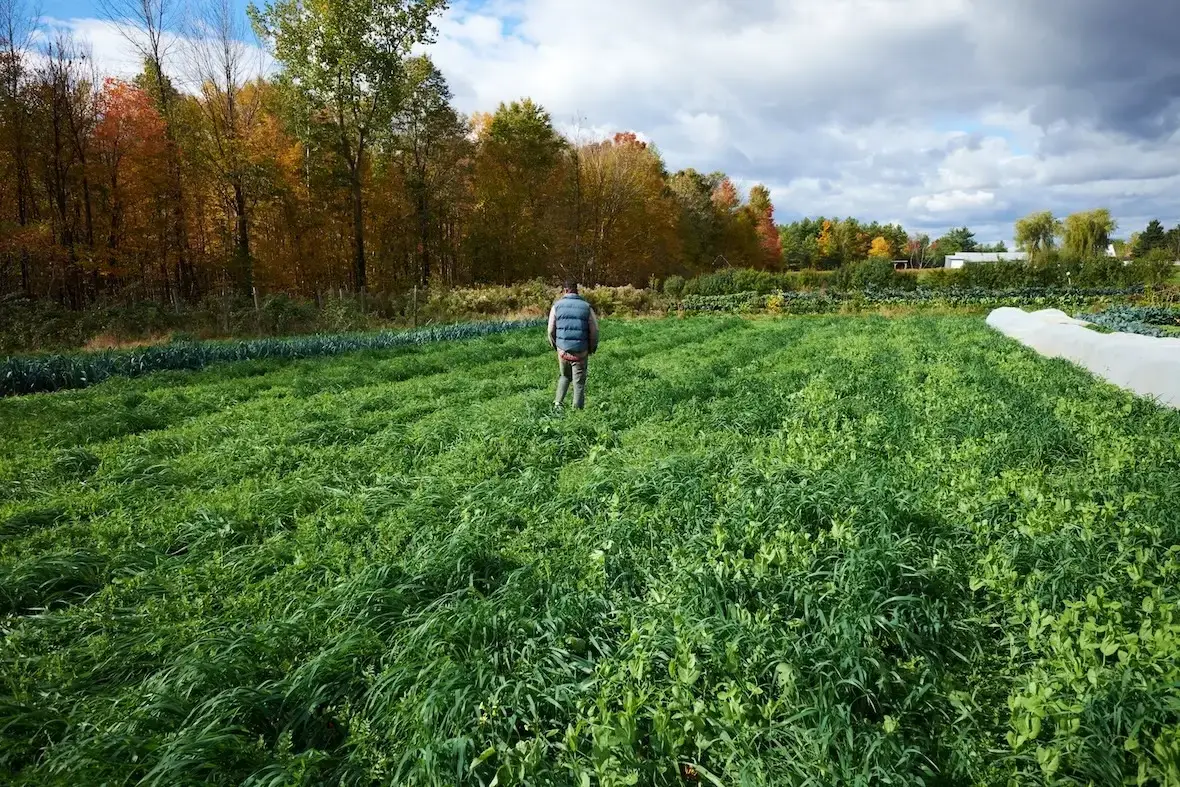
The method is simple. Simply mow the canopy and cover it with a tarp a few months in advance. It can even be a year in advance, depending on the type of canopy). Note that it may be necessary to open the tarps from time to time when it rains to help the canopy decompose. Once the cover is completely destroyed, remove the tarp, amend the soil, and broadfork the beds.
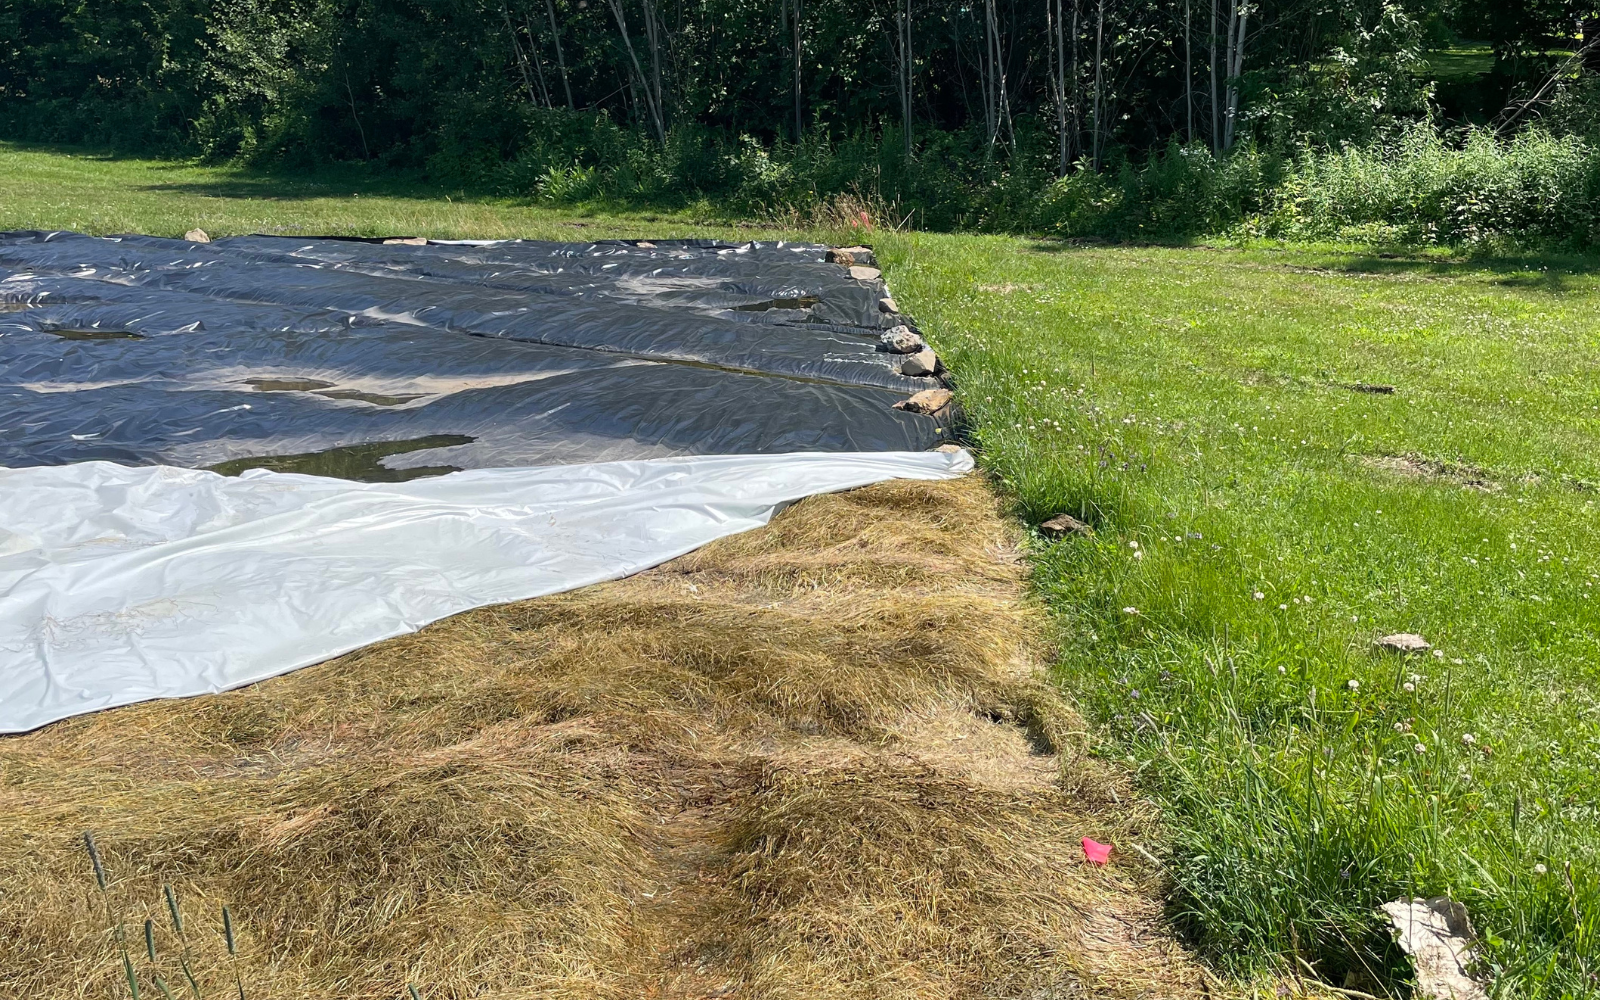
Photo credit: Michaël Tougas
It is also possible to follow the principles of permaculture by replacing the tarps with large quantities of organic mulch. You can use straw, dead leaves, wood chips or cardboard. Another method is to use animals to work the soil surface. Pigs do a good job of this. By knocking over vegetation with their snouts, they gain access to the roots, which they eat. These options have the advantage of adding organic matter to the soil through animal manure or decomposing organic mulch.

Photo credit: Michaël Tougas
If you have time and can plan ahead, these options are attractive. Depending on the choice you make, you may be able to reduce the workload and costs, as well as maintain and improve the condition of the soil.
Opening Your Gardens With Power Tools
Often, the soil you are about to cultivate is poor and compacted. The reality of starting a farm sometimes requires opening the gardens within a short period of time. Mechanical tillage becomes a particularly attractive option to be able to plant crops or to quickly increase the productivity of the soil. Loosening the soil with a preliminary tilling allows the infiltration of air and water necessary for the rapid establishment of microorganisms and roots. As soon as production begins, soil disturbance must be kept to a minimum. Life will be able to take up residence in the soil and the application of good cultural practices will continue to improve its fertility. Thus, its productivity will be good from the start. The preliminary tilling can be done with a tractor or with a walk-behind tractor.
The tractor
The tractor allows the use of a subsoiler that loosens the soil with its long tines (the shanks) to a depth of 30 in (75 cm). Then, use a plow to destroy the canopy. A week later, the amendments can be added. After that, a power harrow should be used 2 to 3 times to even out the soil. All that remains is to shape the permanent beds.
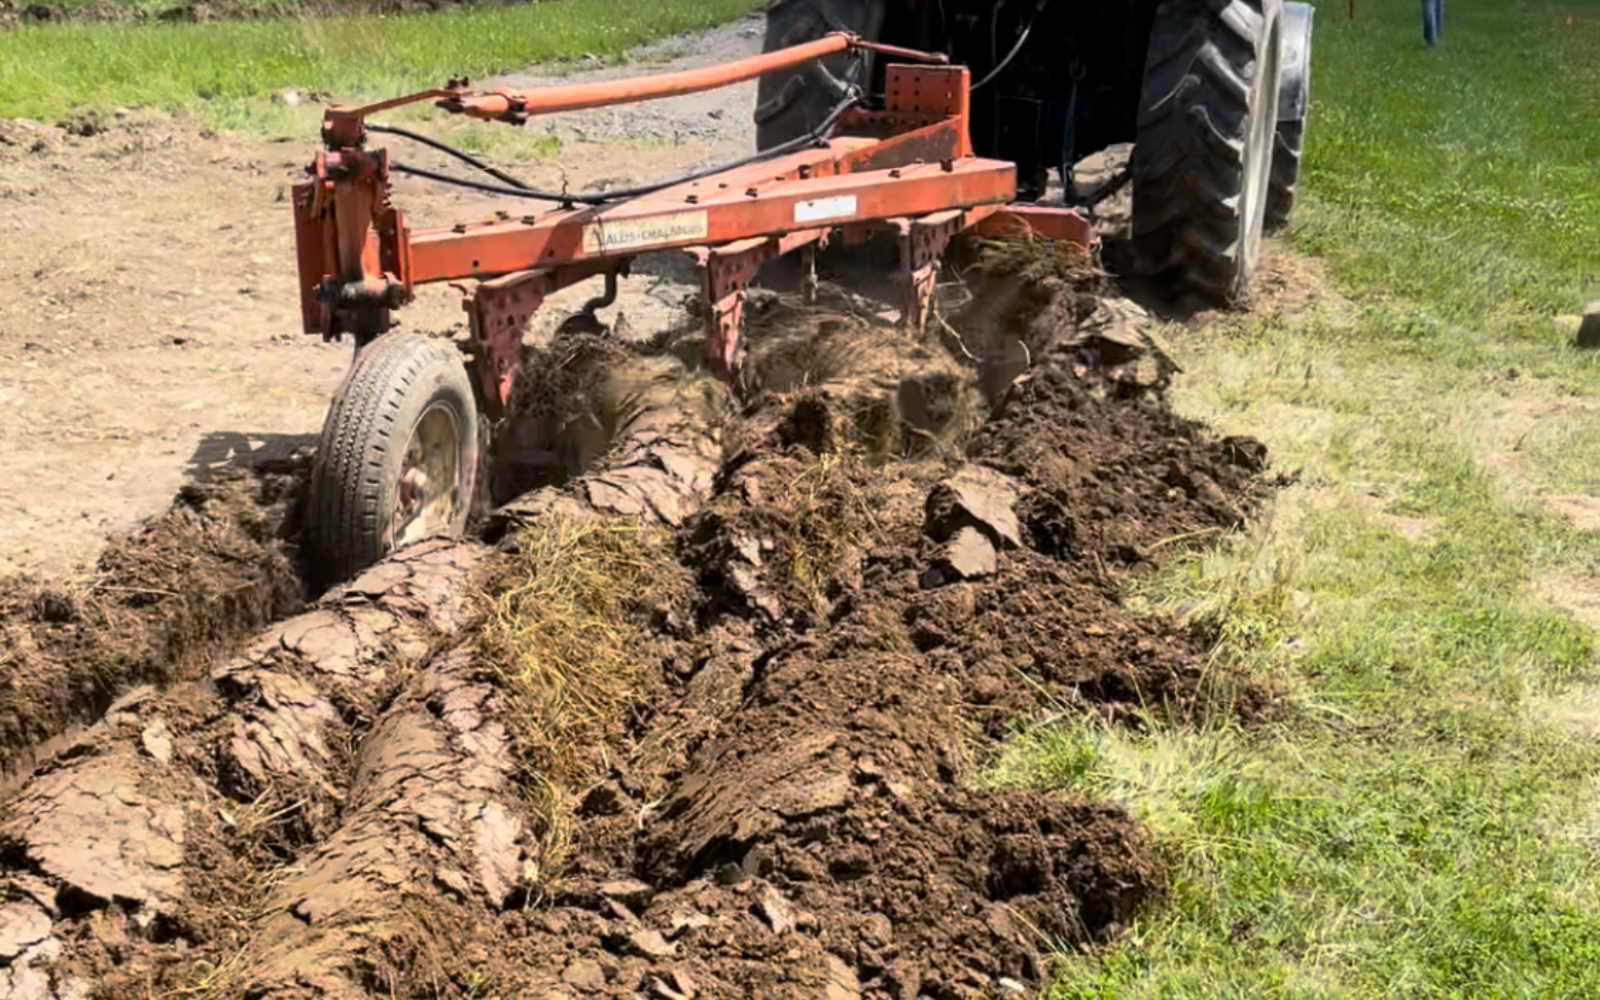
Photo credit: Michaël Tougas
The walk-behind tractor
If you have a walk-behind tractor to work the soil, the rotary plow is the preferred equipment. Start by mowing the vegetation with a flail mower, then cover it with a tarp for two weeks. You only need to kill the vegetation, not break it down. Once the tarp is removed, it’s time for the rotary plow to do its work. Make a fairly deep trench in the center of your plot by doing two return trips over the same spot. Then move the tool back and forth, sending the soil toward the center of the plot. As you go back and forth on each side of the initial trench, you will move further and further from the center until you reach the edge of the plot. You can plow a second time if the depth of the first pass is not satisfactory.

Photo credit: Alex Chabot
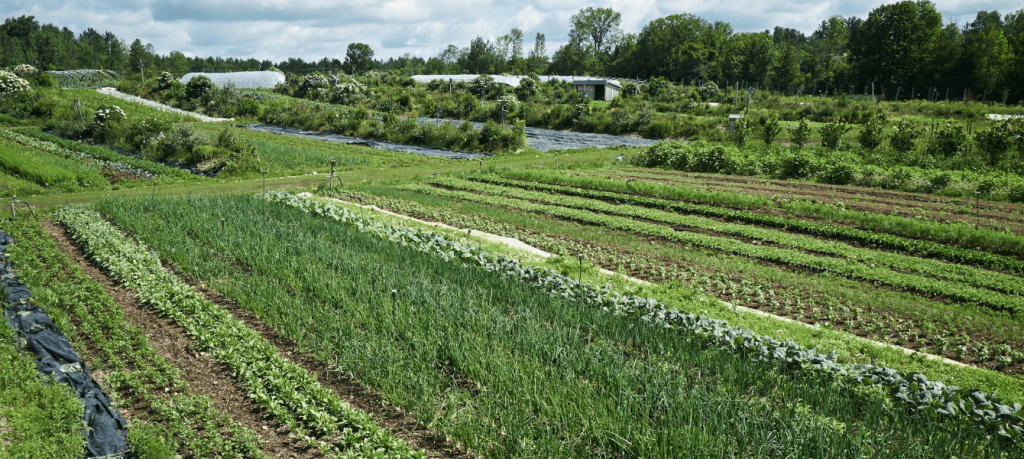
Shaping the Permanent Beds
When the soil is worked and the canopy is destroyed, it is time to shape the permanent beds. The beds are raised in climates where you want to warm up and drain the soil more quickly in the spring. If you live in a very hot, dry climate, it may be best not to raise the beds. If you do decide to raise them, here are some tools that can help you get the job done.
A rotary plow mounted on a walk-behind tractor can easily shape the beds by traveling back and forth down each aisle. Another option is to rent a mini excavator. The soil is scooped from the aisles and placed onto the beds with an 18 in (46cm) bucket. The excavator tracks are placed in the aisles and the work is done by traveling backwards as the bed is built. Another option is to use a hand shovel, but the work will be much more time consuming and tedious.
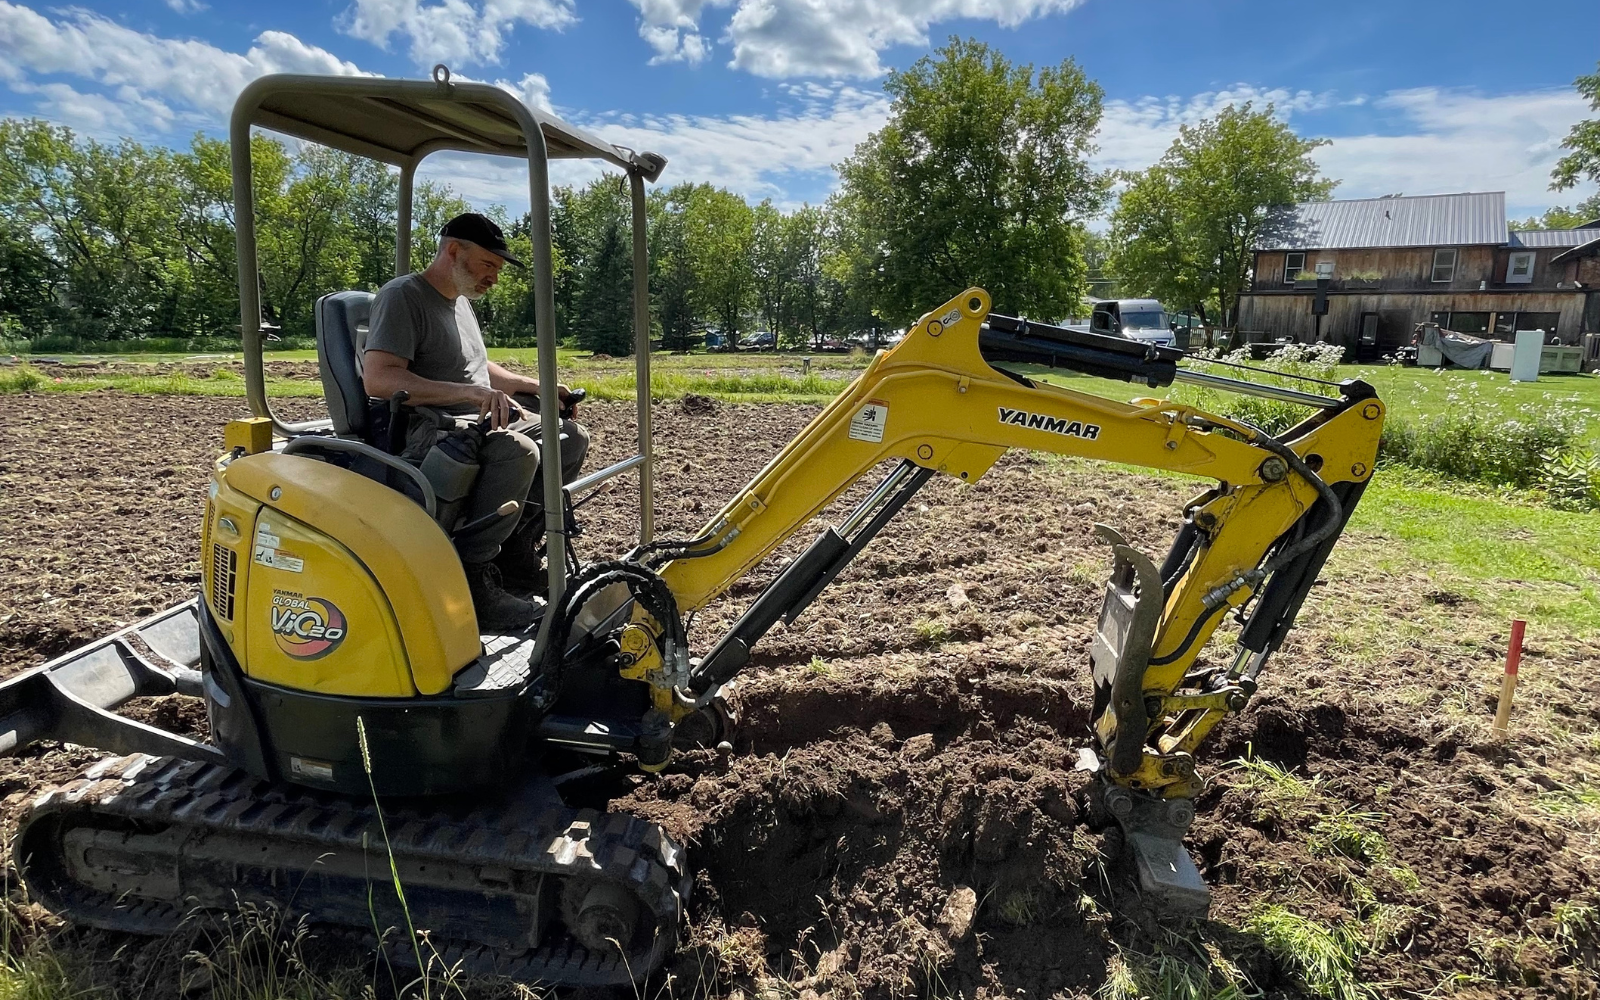
Photo credit: Michaël Tougas
Once you have followed all these steps, you can then start planting your crops! And remember, your cultivation practices will determine the health of your soil for years to come. Feed it, cover it, maximize its biodiversity, and you will see it become more and more productive, year after year!
Would you like to see JM Fortier apply these techniques? In this Youtube video, he tests three different options to see the impact on soil health.