


When Is the Best Time to Plant Garlic?
First, I should mention that at our market garden, we’ve always grown hardneck garlic rather than softneck varieties. Why? Because hardneck garlic generally produces bigger, firmer cloves that are easier to peel and cook with — something our customers really appreciate and are willing to pay a premium for! Hardneck varieties produce fewer but larger cloves arranged around a stiff central stem, while softneck garlic typically has more, smaller cloves and tends to store longer. Hardneck garlic also gives us a bonus crop of delicious garlic scapes in early summer. My two favourite varieties are Music and Siberian, but we will get to that later.
Now, when should you plant it?
The best time to plant hardneck garlic is in the fall, about 3 to 6 weeks before the ground freezes. Here in southern Québec, that usually means mid-October, but I’ve included a regional planting calendar below to help you find the right window for your area. In all cases, the objective is simple: give the cloves enough time to establish strong roots before winter, without encouraging too much green growth above the soil.
Garlic needs a period of cold weather, known as vernalization, to develop properly into full-sized bulbs. That’s why fall planting works so well in northern climates. The cloves establish their roots, spend the winter in dormancy, and get a head start as soon as temperatures warm up in spring. But there’s a catch: plant your garlic too early, and you risk getting exactly the kind of growth you’re trying to avoid. This is one of the most common mistakes I see beginning growers make.
| Growing Region | Best Planting Window |
|---|---|
| Canadian Prairies and colder northern regions | Mid-September to mid-October |
| Québec, Ontario, New England and Upper Midwest | October to early November |
| Mid-Atlantic and milder Midwest | October to November |
| Pacific Northwest and coastal British Columbia | October to November |
| California and warmer southern regions | October to December |
Start With Great Seed Garlic: My Favourite Varieties and Suppliers
If there’s one thing I’ve learned after all these years growing garlic, it’s that the quality of your planting stock makes a tremendous difference in the size and quality of your harvest. Remember, with garlic, we’re not planting actual seeds but individual cloves taken from mature bulbs. Each clove will eventually develop into a whole new bulb, and believe me, starting with large, healthy cloves gives you a serious advantage. On our farm, we’re quite selective about what goes back into the ground. We always keep our biggest, healthiest bulbs for next year’s planting and select the largest cloves from them. This is something I’ve encouraged growers to do for years, and it’s one of the simplest ways to improve your garlic crop over time. I’ve mentioned that my two favourite varieties are Music and Siberian, both hardneck garlics that produce beautiful, large cloves. But regardless of the variety you’re growing, my advice remains the same: don’t compromise on the quality of your planting stock, once again…. It’s to big of a risk.
Now, if you’re just getting started or looking to introduce new varieties to your farm, you’ll need a reliable seed garlic supplier. My first recommendation, especially for Canadian growers, is Ferme Tourne-Sol, an excellent organic seed farm in Québec. They’re my go-to, and I particularly appreciate the quality of their planting material and the fact that they’re growing under conditions similar to ours. For growers in the United States, I’ve always been a big fan of Johnny’s Selected Seeds, which offers Music garlic. Their seed garlic is known for its quality and reliability and in my experience, starting with high-quality seed garlic is well worth it. Another longtime favourite of mine is High Mowing Organic Seeds in Vermont, a company I regularly recommend for its commitment to organic seeds and professional growers. Whichever supplier you choose, I encourage you to buy from people who really understand the importance of healthy planting material. You’re making an investment in next year’s harvest, and this is definitely not the place where I’d be looking to cut corners.
One last piece of advice before we move on: order your seed garlic early and inspect every bulb before planting. Popular varieties like Music can sell out well before fall, so don’t wait until October to start shopping! When your garlic arrives, look for firm, healthy bulbs with intact wrappers, and discard any cloves showing signs of mould, rot, or physical damage. Garlic can carry diseases from one season to the next, and introducing infected planting material is one of the easiest ways to create problems that may stay with you for years. If you already grow garlic successfully, make it a habit to reserve your best bulbs for replanting before selling the rest of your harvest. Over time, you’ll build your own stock of garlic that performs well under your particular growing conditions. It’s a simple practice, but one that has served us very well at our farm.
How to Plant Garlic Cloves for the Best Results
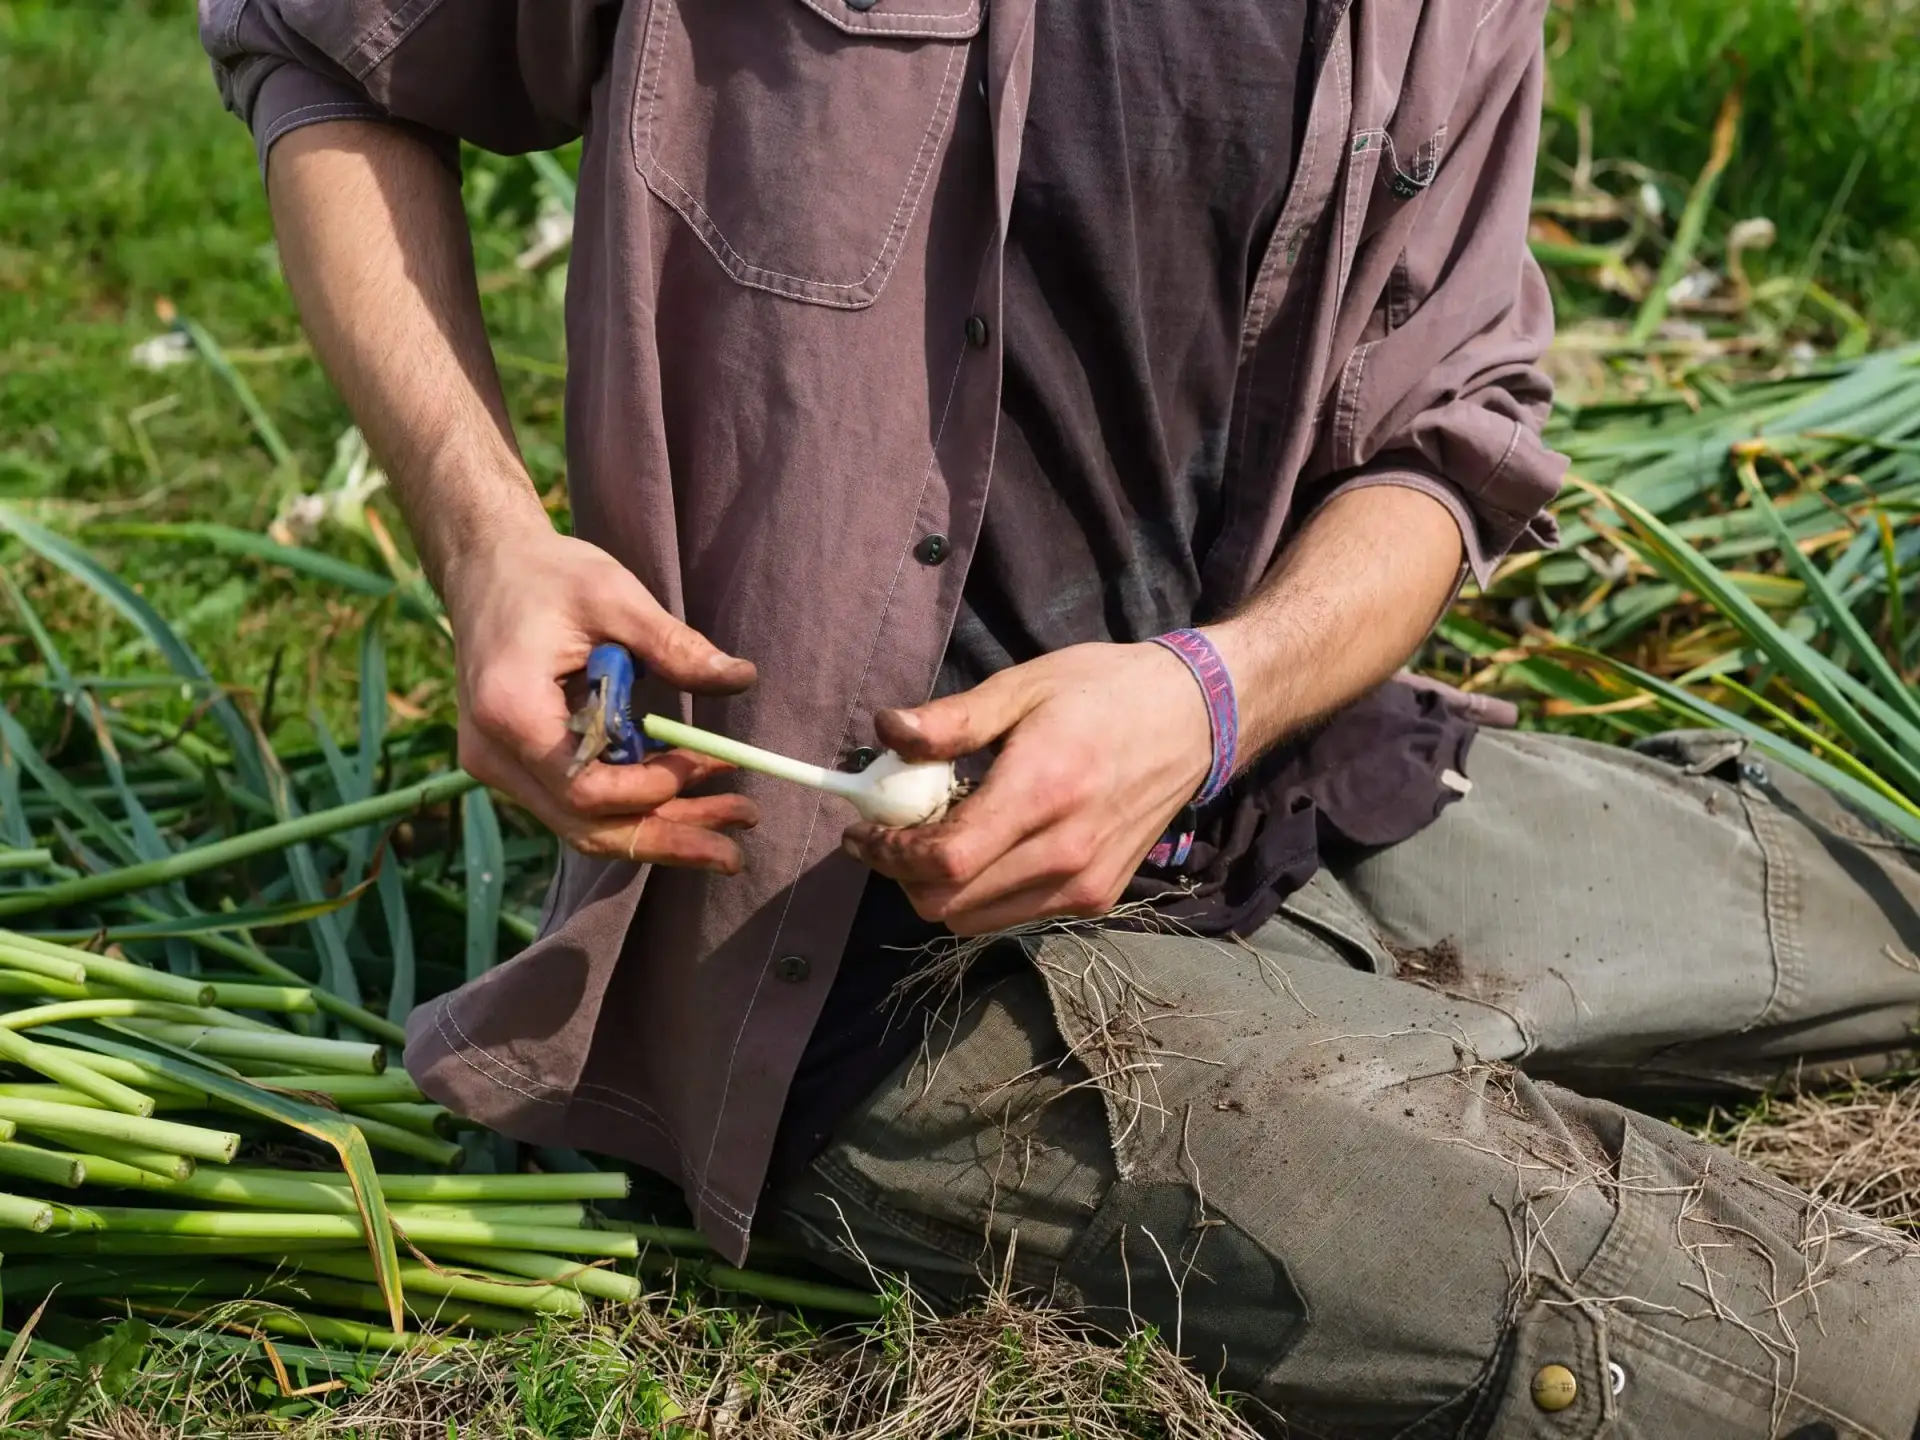
Once you’ve got your seed garlic and your beds are ready, the actual planting is pretty straightforward. Start by breaking apart your garlic bulbs into individual cloves, a process we call cracking. I like to do this the day before planting, or even the same day, to keep the cloves as fresh as possible. Be careful not to damage them, and leave their protective skins intact. As you go, sort out anything that’s too small, soft, or damaged, keeping only the biggest and healthiest cloves for planting. When it comes to planting, always position the cloves with the pointed tip facing upward and the flat root end facing down. Plant them about 2.5 inches (6 cm) deep, spacing the cloves approximately 5.5 inches (14 cm) apart, with three rows per standard 30-inch (75 cm) bed.
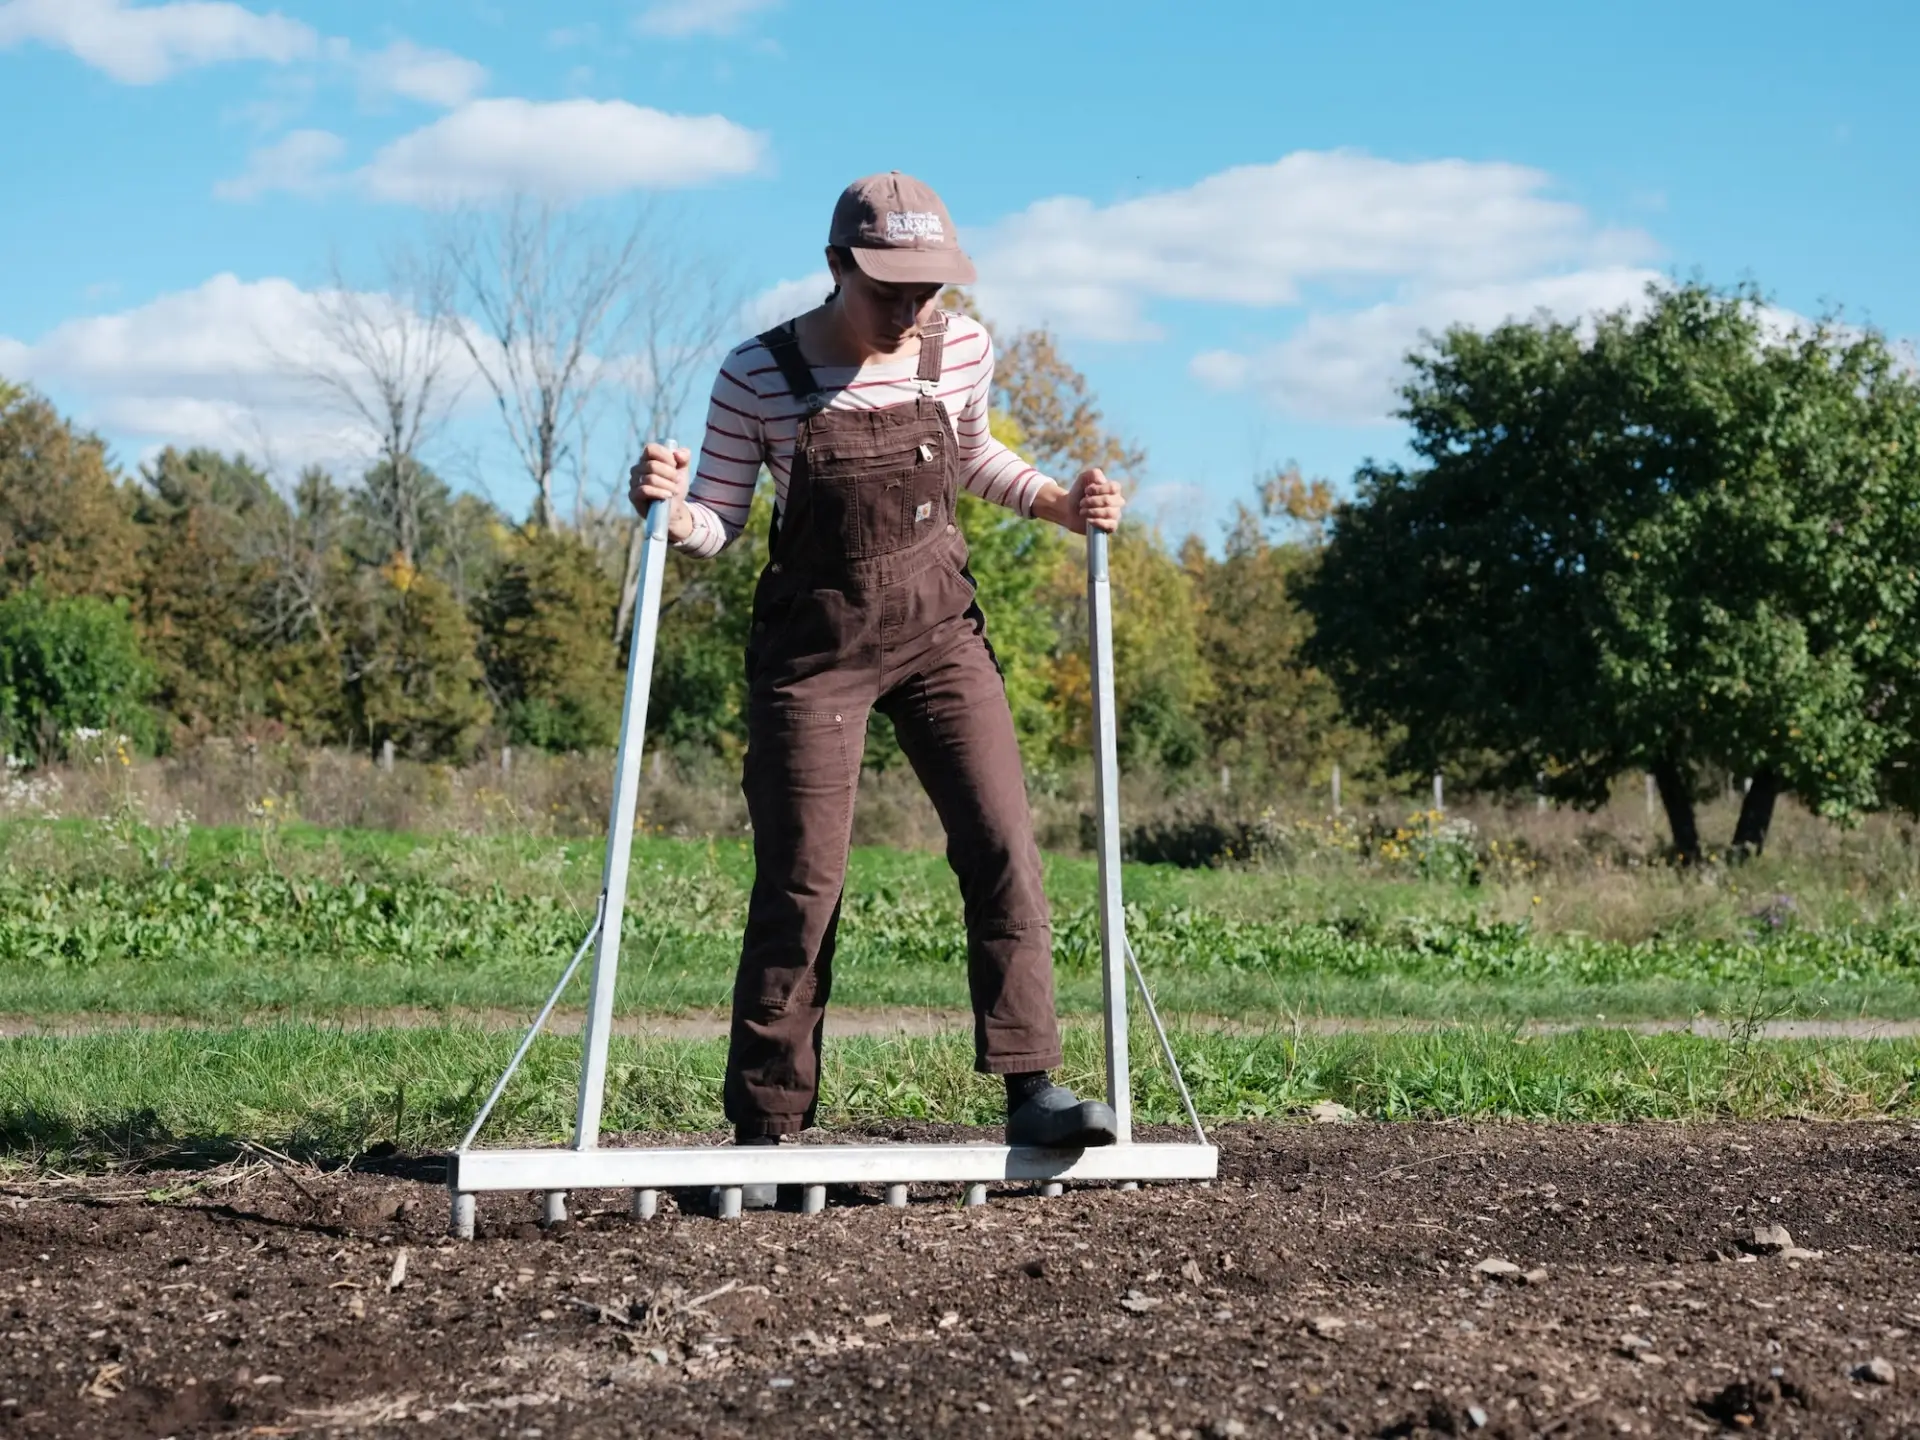
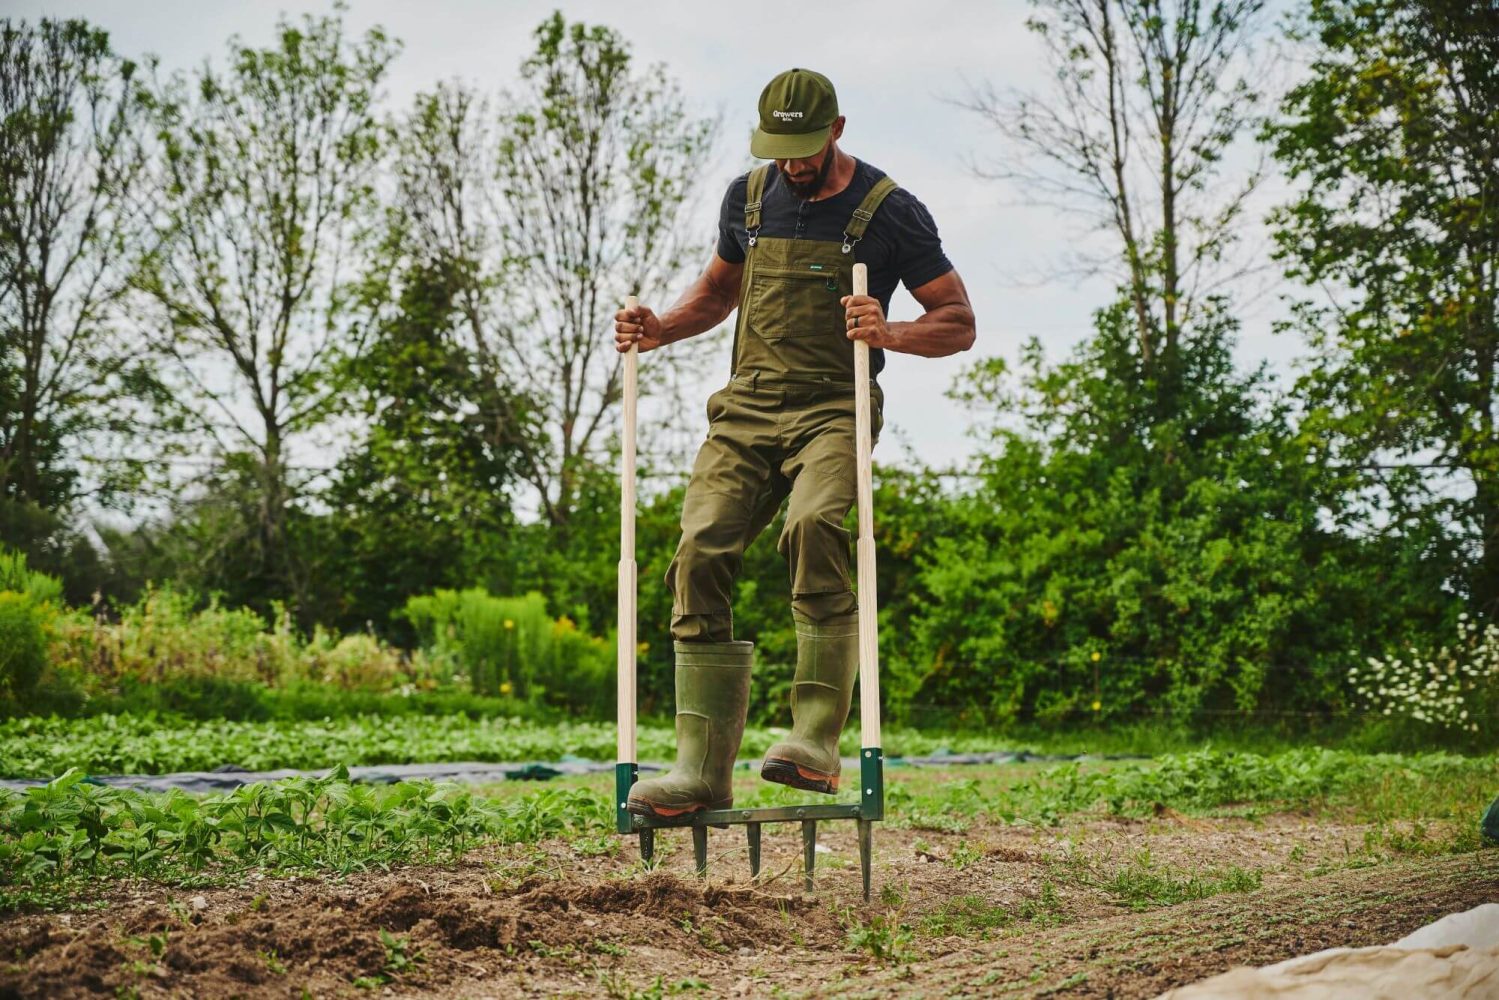
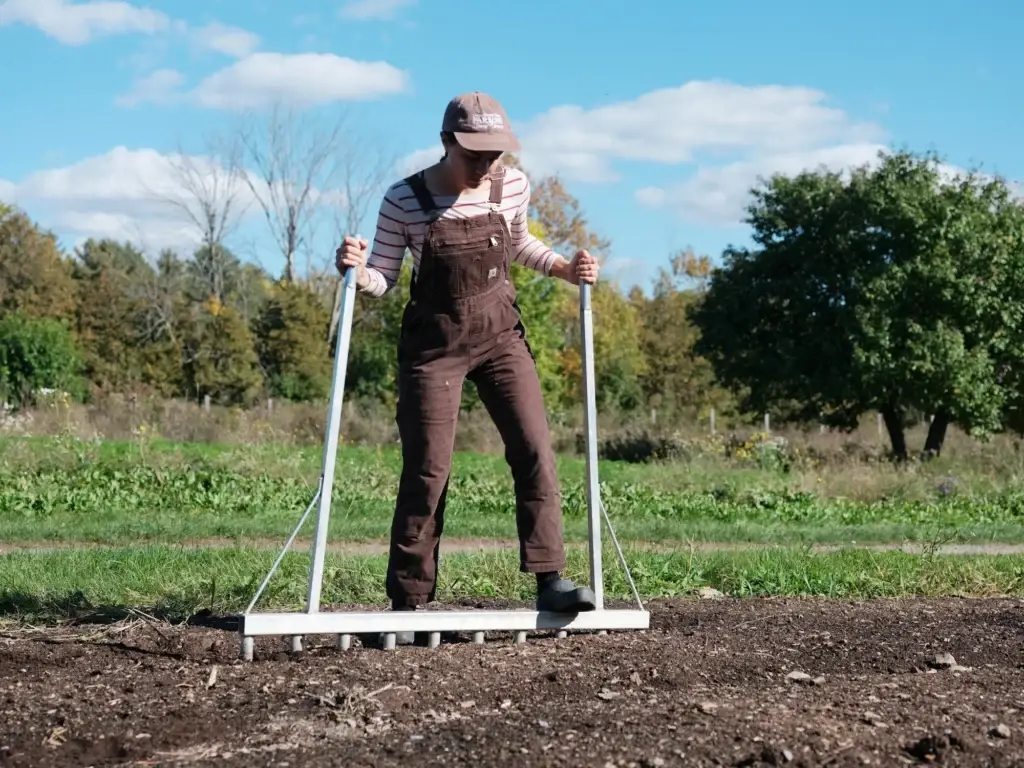
To make planting easier, we use our famous garlic dibbler, a simple tool we built many years ago that allows us to quickly create holes with perfectly consistent spacing and depth. We only use it once a year, but it makes planting thousands of cloves so much faster and more enjoyable. Looking back, the few hundred dollars we spent making it were well worth the investment!
Want to see the dibbler in action? I show our full planting sequence, step by step, in my course How to Grow Garlic for Profit.
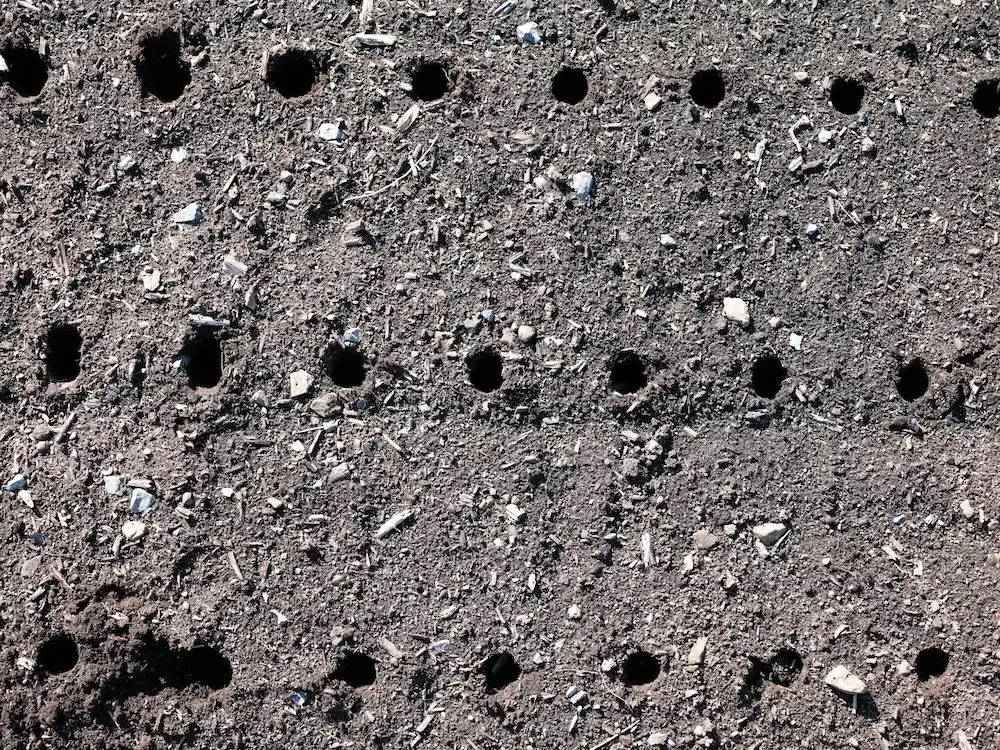
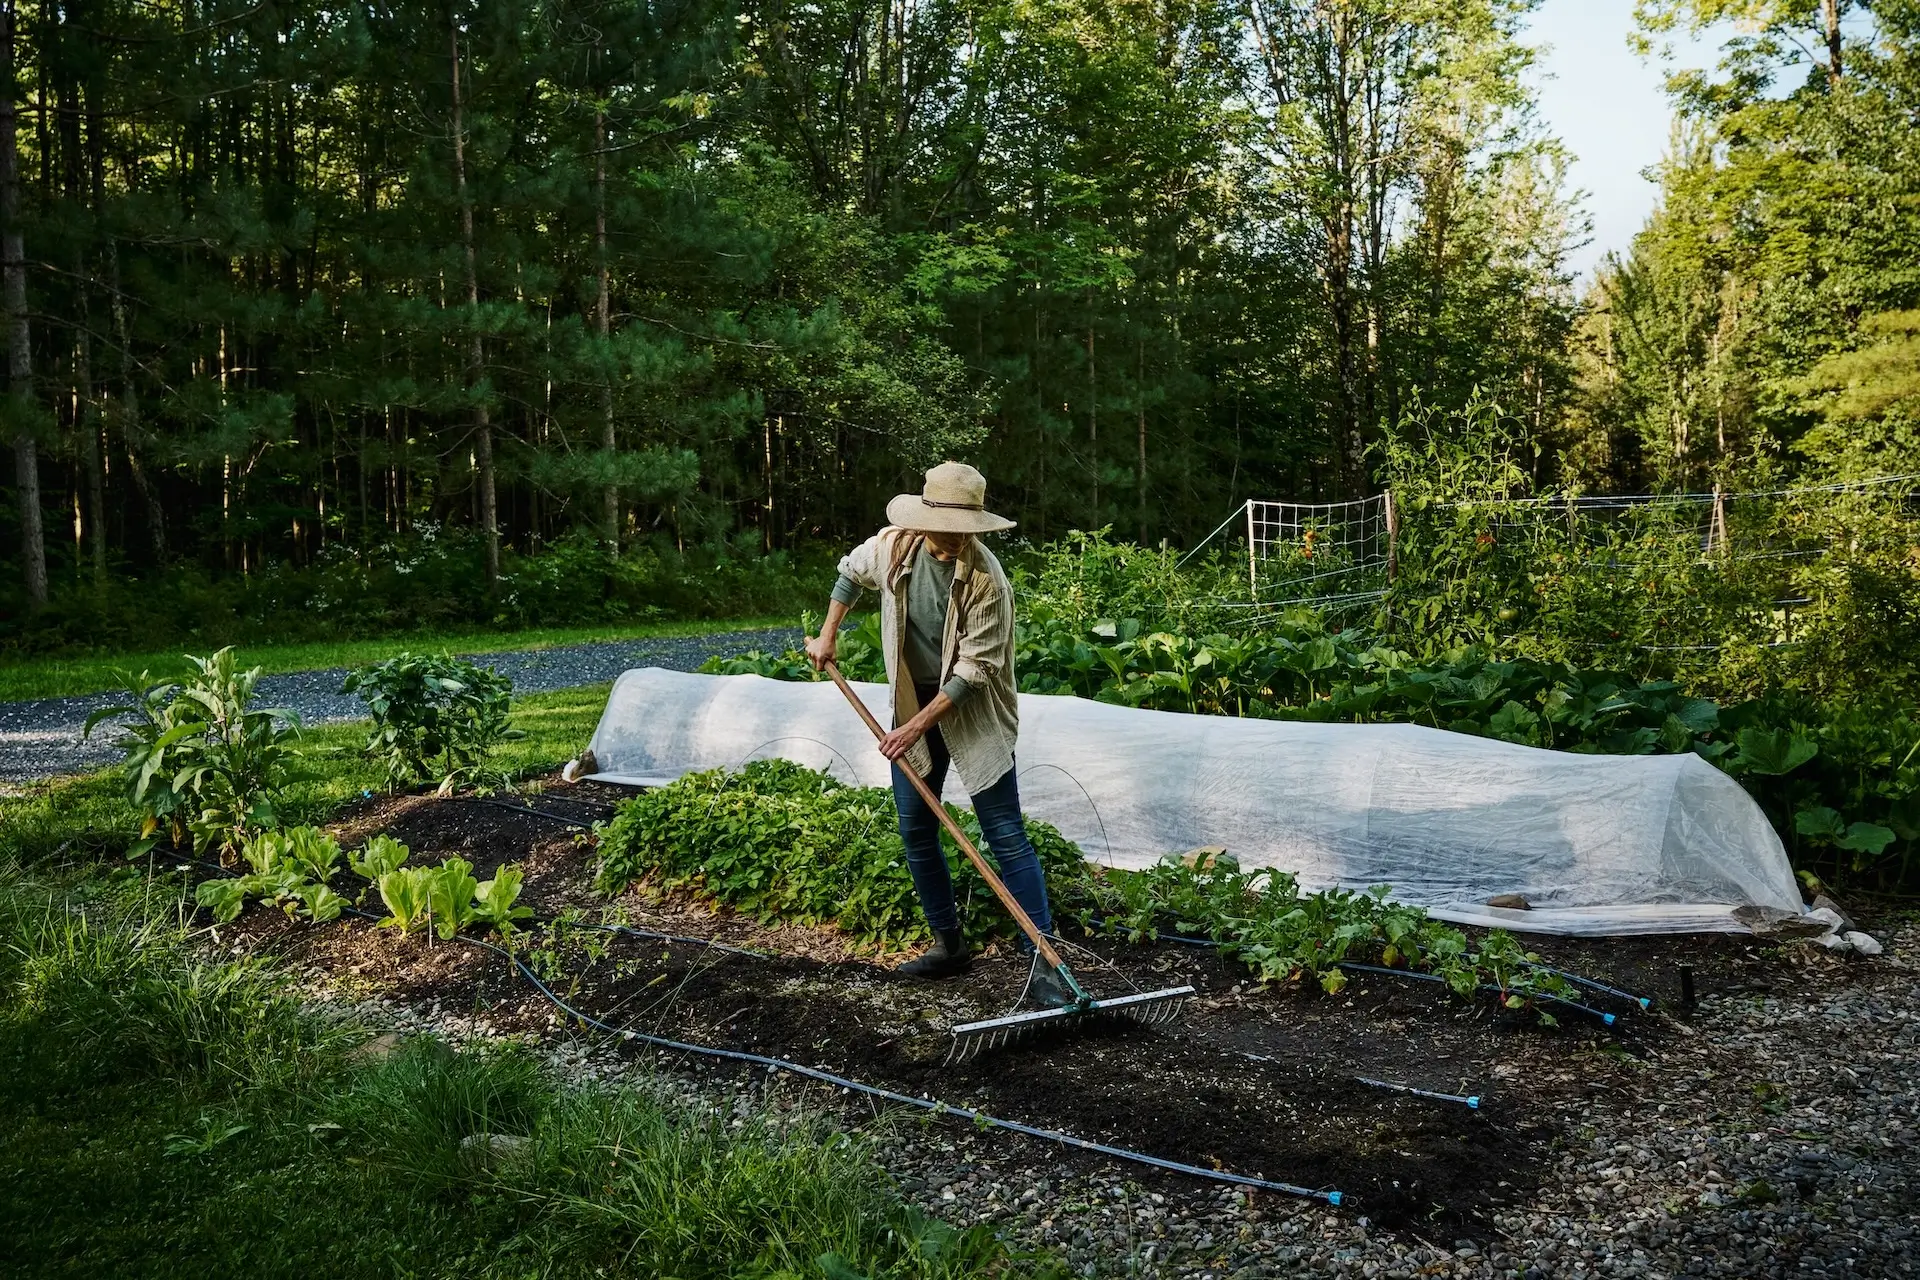
Once the cloves are planted, we simply rake soil over the holes and cover the beds with a generous 6-inch (15 cm) layer of clean straw. This protects the garlic through winter, helps conserve moisture, and keeps weeds under control the following spring. It’s a simple practice that makes a tremendous difference. And if you’re wondering whether garlic is worth dedicating valuable growing space to, let me share a few numbers!
In our market garden rotation, a 50 × 100 ft plot can accommodate approximately 12 beds, each 100 feet long, with about 640 garlic plants per bed. That’s roughly 7,680 garlic bulbs from just one plot! At a selling price of $1.50 to $2 per bulb, we’re looking at a potential $11,500 to $15,400 in gross revenue, assuming every planted clove produces a marketable bulb.
Of course, actual sales depend on yields, losses, and the garlic we reserve for next year’s planting, but it gives you a good idea of the potential. And that’s without counting the garlic scapes we harvest and sell earlier in the summer!
Want to Grow Even Better Garlic? Here’s Where to Go Next.
Of course, there’s much more to growing beautiful, profitable garlic than simply putting cloves in the ground. Fertilization, irrigation, crop rotation, knowing exactly when to harvest, and proper curing all make a tremendous difference in the size, quality, and storage life of your bulbs. These are all techniques we’ve refined over many seasons at our farm, and I can tell you that getting these details right really pays off.
Learn My Complete Garlic System: How to Grow Garlic for Profit
That’s why we created How to Grow Garlic for Profit, an online course where I share the complete system we use on our farm, from preparing the soil and planting in the fall to harvesting at the right moment, curing, and storing beautiful bulbs for months.
In the step-by-step video tutorial, you’ll follow me in the field and see exactly how we do it: our planting sequence, the tools we use, how we organize harvest day, and how we set up our curing space.
The course also includes:
- The Garlic Playbook, an field guide with our exact spacing, techniques and production numbers, plus the little tricks I’ve picked up over more than 20 years of growing garlic for market
- A full technical sheet you can print and keep handy all season long
Happy growing!