


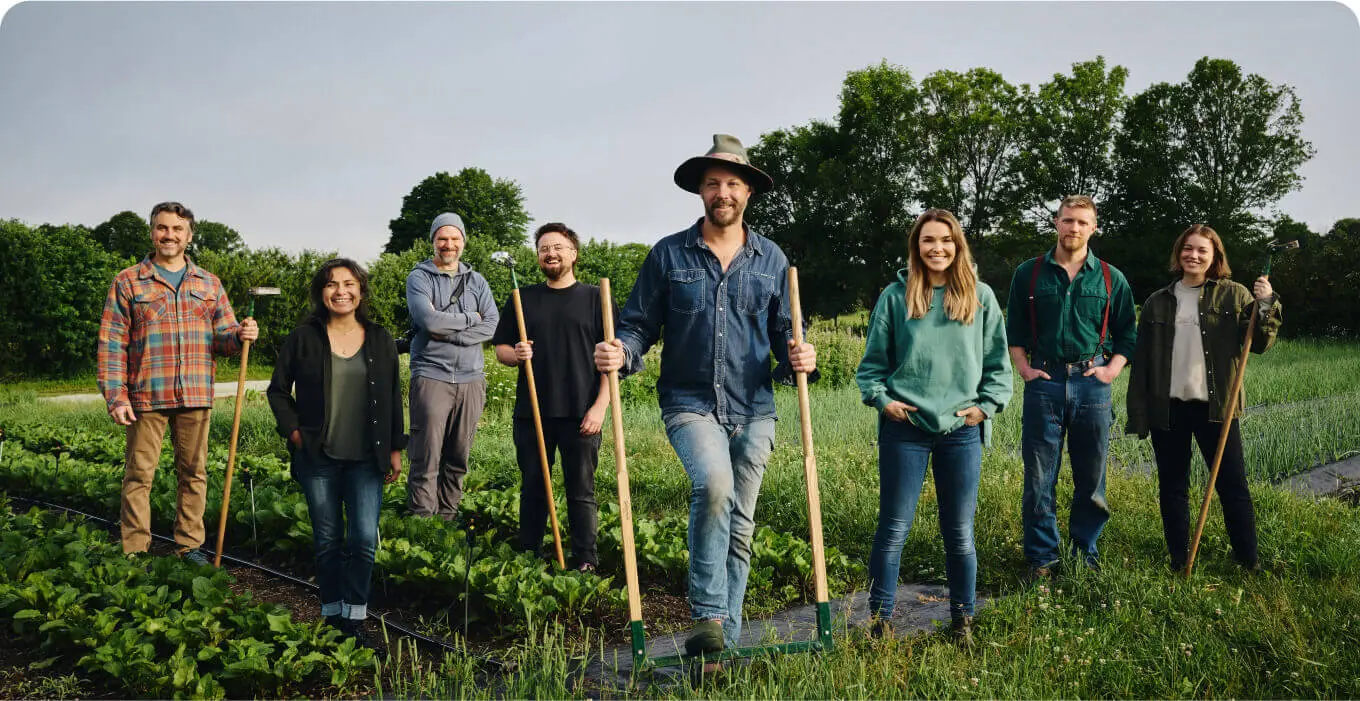


I’ve spent more than 25 years growing vegetables commercially, first at Les Jardins de la Grelinette, where we produced over $150,000 in vegetables per season on barely an acre and a half, and later at Ferme des Quatre-Temps, a full-scale regenerative research farm. Along the way I’ve trained thousands of growers across 90+ countries through the Market Gardener Institute.
Here’s what I’ve learned: the gap between a backyard gardener who struggles and one who harvests abundantly every week isn’t talent. It’s method. Below are 30 of the most impactful Gardening tips, tricks, and tools I’ve refined over decades, distilled directly from my new book, In Your Garden

Prefer watching instead of reading? I’ve put together a video where I break down 15 of my favorite and most essential tips from this list. You can watch it right here to see these methods in action.
Part 1 — Design your garden like a pro
1. Go Bigger, Not Smaller : The Counter-Intuitive Truth About Garden Size
For years I told commercial farmers to “think small and smart.” Now I’ll tell home gardeners the opposite: aim for a slightly larger garden than you think you need. A garden that’s too small limits your options : no room for crop rotation, green manures, or succession planting.
For a family of four, plan for roughly 1,600 sq ft (about 50 × 32 ft) organized into 30 permanent beds. This isn’t more work, with the right system, it’s actually easier to manage.
2. Build Permanent Raised Beds, And Never Till Again
The single most transformative thing you can do is create permanent, standardized beds. Mine are 30 inches (75 cm) wide (exactly the width of my hand tools) and 10 feet (3 m) long. You walk in the aisles, never on the bed. You protect the soil structure. You let earthworms work undisturbed, year after year.
Pro rule: always keep bed dimensions as multiples of 4 feet, design with at least 20 beds, and standardize every bed to the same length. This makes planning, row-marking, and tool use dramatically more efficient.
3. Draw a Crop Map Before You Plant a Single Seed
Professional market gardeners never wing it. We draw a bird’s-eye map of every bed, assign crops to each one, mark succession planting dates, and update it weekly. A garden map is your most powerful planning tool, and it’s just pencil on paper.
For a digital option, planning software like Heirloom.ag automates the math calculating quantities, succession schedules, and planting calendars from your weekly harvest goals.
4. Pick Your Site Using These Three Non-Negotiables (In Order)
- Sunlight first: minimum 8 hours of full sun per day. Morning sun dries dew and warms soil faster.
- Drainage second: walk your site after a heavy rain. Standing water is a red flag.
- Wind last, but don’t forget it: a simple windbreak of shrubs or shade cloth protects heat-loving crops like tomatoes and peppers enormously.
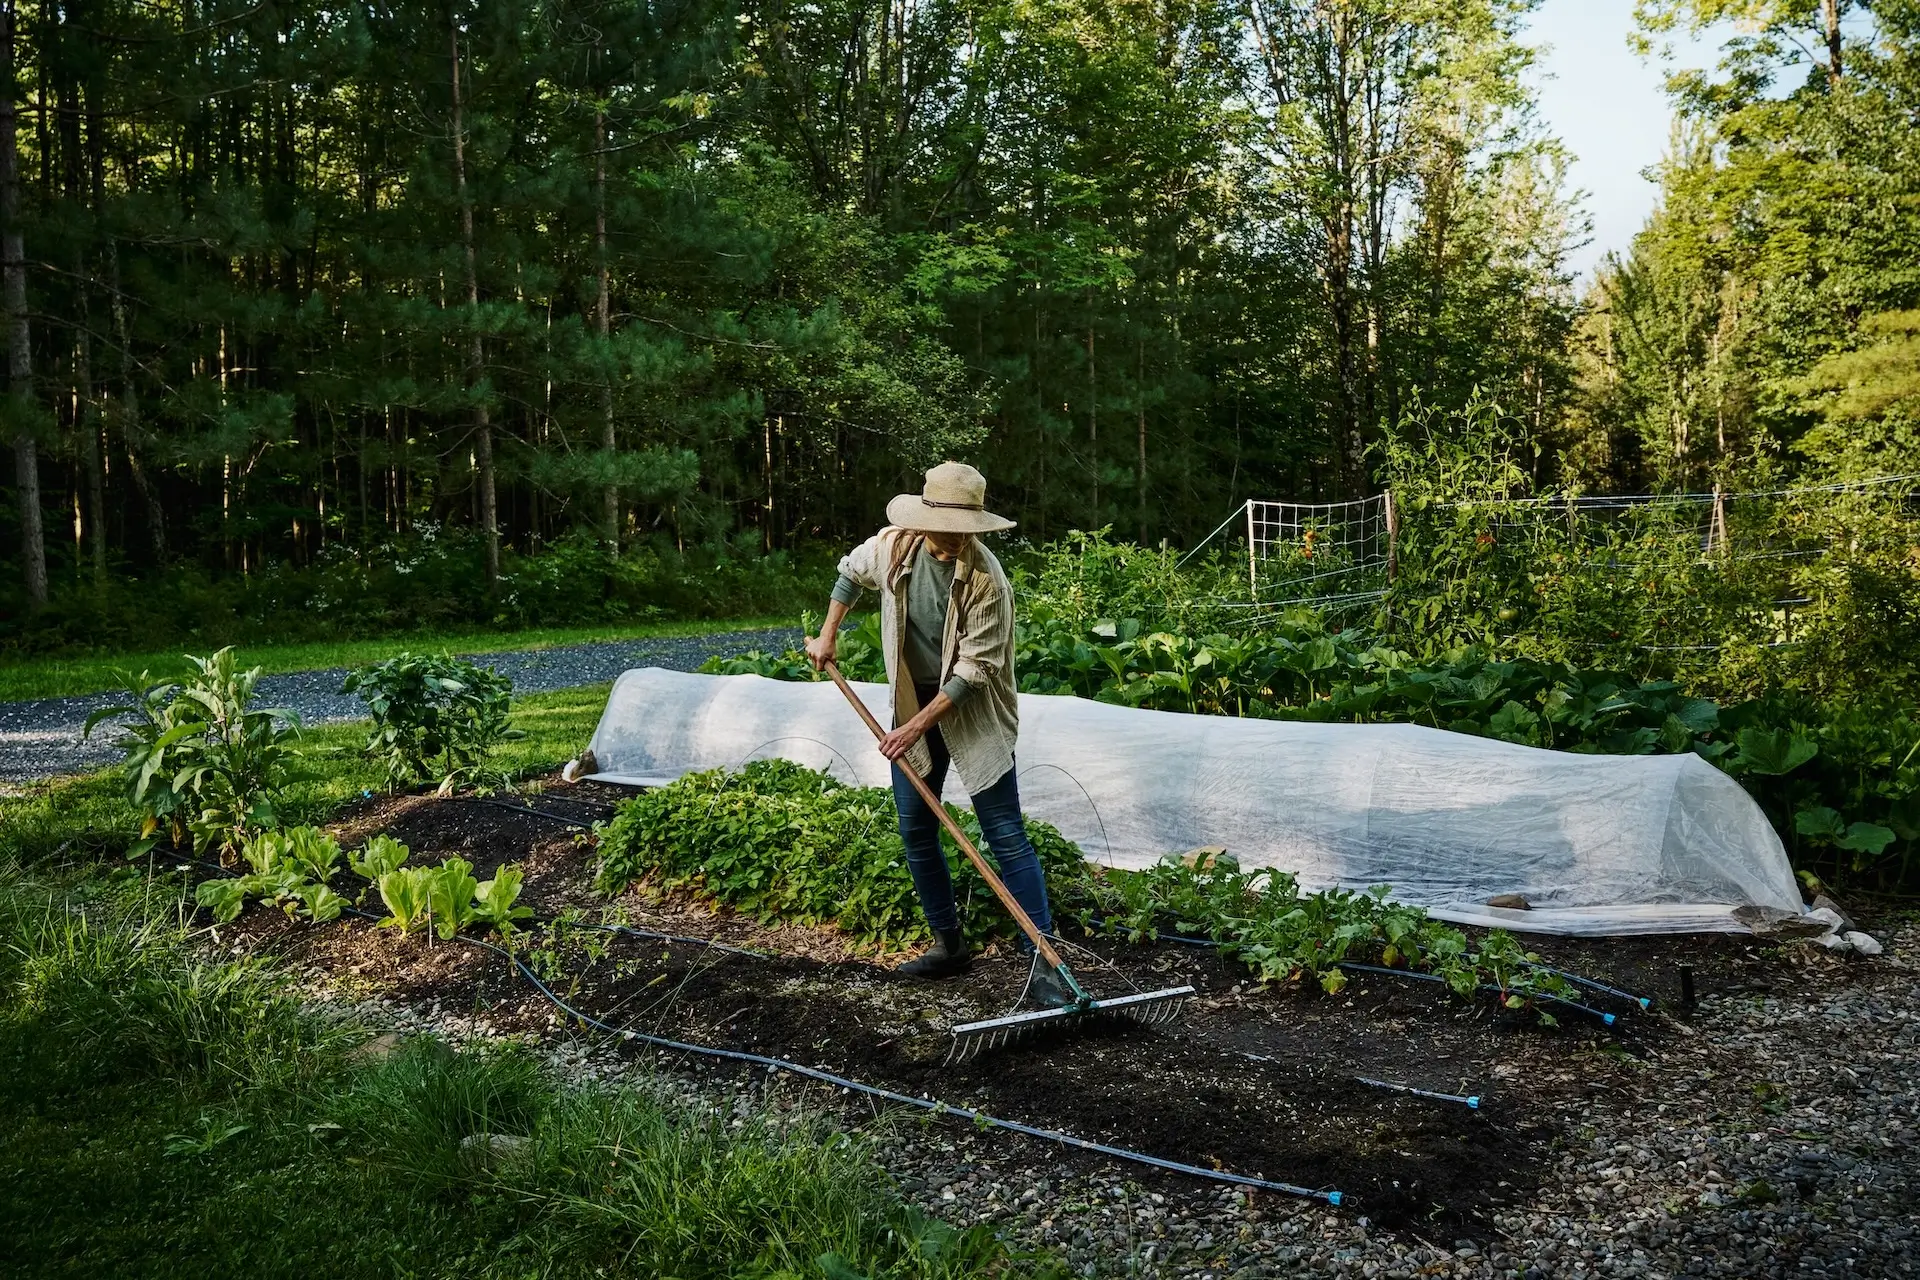
5. Smother Grass With Occultation Instead of Tilling
Starting a new bed on an existing lawn? Don’t rent a rototiller. Lay black silage tarp or thick cardboard over the area, cover with 4–6 inches of compost, and leave it for a full season. The biology underneath breaks everything down into beautiful, workable soil that’s alive, full of microbial diversity and earthworms.
Part 2 — Grow more from every square foot
6. Master Biointensive Spacing : The Yield Secret Hiding in Plain Sight
Most home gardeners space plants too far apart, following seed-packet instructions written for row-crop farming. Professional market gardeners use biointensive spacing — planting closer together, within precise limits that match each crop’s actual needs. The result is a living canopy that suppresses weeds, retains moisture, and dramatically increases yield per square foot.
Example: Lettuce at 12 inches within the row and 10 inches between rows. Carrots at 1 inch within the row and 6 inches between rows. These numbers are field-tested, not theoretical. The complete spacing chart for every major vegetable is in my book In Your Garden.
7. Use Succession Planting to Harvest Every Week, All Season Long
Succession planting means sowing or transplanting the same crop at regular intervals — so instead of getting 40 heads of lettuce at once, you get 4 heads every week for ten weeks. The math: work backwards from your desired weekly harvest. If your family needs 4 heads of lettuce per week and lettuce takes 8 weeks from seeding to harvest, start 4 seeds every week, 8 weeks ahead.
This same logic applies to radishes, carrots, spinach, arugula, beans, and mesclun. Learn this one technique and your garden will never produce a glut-or-nothing harvest again.
8. Flip Your Beds: How to Grow 2–3 Crops Per Bed Per Season
Crop succession (or “bed flipping”) means growing entirely different crops back-to-back on the same bed as the season progresses. A classic sequence:
- Spring: Radishes (mature in 30 days)
- Early Summer: Lettuce transplants (55 days)
- Midsummer: Bush beans (60 days)
- Fall: Garlic or a cover crop
Done right, you can run two, sometimes three full crops through a single bed in one season. This technique was central to my microfarm producing over $150,000 per season on 1.5 acres.
9. Learn Days to Maturity (DTM) And Why Bed Occupancy Is What Actually Matters
Seed packets list “Days to Maturity” — but that’s only half the story. The number you need for planning is bed occupancy: DTM + harvest window (how long the crop stays in the ground after first harvest).
A carrot with a 70-day DTM and a 14-day harvest window occupies a bed for 84 days. A tomato with a 70-day DTM plus a 60-day harvest window occupies 130 days. The full harvest chart — with DTM, harvest window, bed occupancy, and succession intervals for every major vegetable is detailed in In Your Garden.
10. Build a Crop Calendar : Your Garden’s Master Plan
A crop calendar is a simple document that tells you what to plant, how many beds it needs, when to seed or transplant, how long it occupies the bed, and what comes next. Start small: plan just 5–6 crops. Write down sowing date, transplant date, expected harvest, and what follows.
Pro secret : A crop calendar also becomes your learning tool. It tells you why something went wrong and how to fix it next year.
Part 3 — The professional tool kit
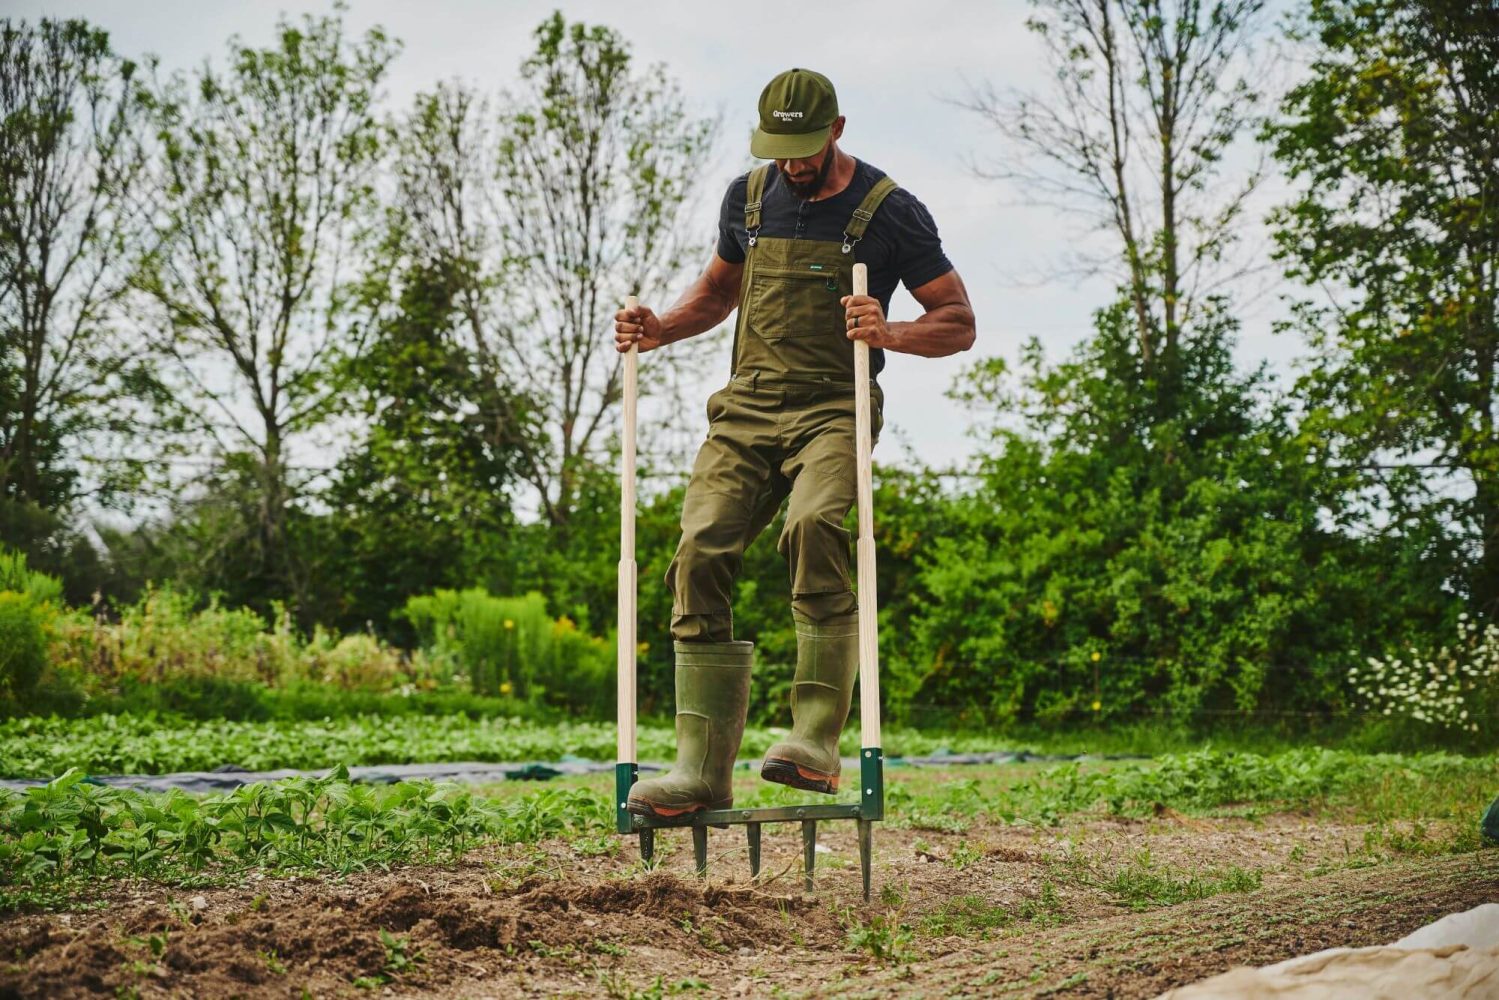
11. The Broadfork: The Most Important Tool You Probably Don’t Own
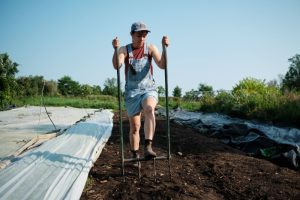 If I could only keep one tool, this would be it. The broadfork loosens soil deeply (10 to 12 inches) without turning it over or destroying its structure. You step on the tines, drive them into the soil, then pull the handles back at 45° to gently lift and aerate. No tilling. No plow pan. No disrupted earthworm tunnels. Just loose, airy, deeply prepared soil.
Choose a model with 5 tines at least 12 inches long — ideally with wooden handles. This is a lifetime tool. I recommend the broadfork line from Growers & Co. I co-designed these tools specifically for permanent bed systems.
12. The Wheel Hoe: Faster Than Any Power Tool for Bed Prep
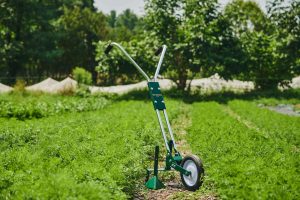 The wheel hoe is a push-cultivator with a blade that glides just beneath the soil surface. You push it like a lawnmower and it slices emerging weeds, mixes in compost, and prepares seedbeds without noise, fuel, or soil destruction. I use it every time I prepare a bed: spread compost, run the wheel hoe twice to mix it into the top 4–6 inches, then follow with the bed prep rake to smooth the surface. A perfect seedbed in minutes.
13. The Bed Preparation Rake: Your Built-In Measuring Tool
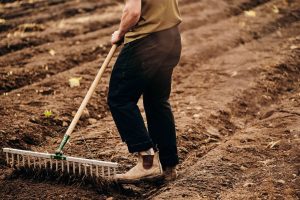 The bed preparation rake is precisely 30 inches wide (matching your bed width exactly) so every pass is also a measurement. Row-marking tubes that slip over the tines create perfectly spaced furrows or transplant rows in seconds. No measuring tape required.
This is the difference between a professional planting and a guesswork one.
14. The Stirrup Hoe: Stop “Weeding” and Start Cultivating
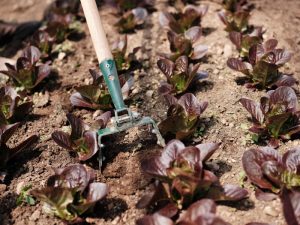 Stop weeding. Start cultivating. Cultivation is proactive — disturbing the soil surface every 7–10 days to kill weed seedlings before they ever emerge.
The stirrup hoe cuts on both forward and backward strokes, mounted on a long handle so you stand upright.
Pro tip: cultivate when it’s sunny and dry. Severed weed roots exposed to sun shrivel within hours.
Stirrup hoes come in 3”, 5”, and 7” widths — own all three.
15. The Katana Hoe: The Most Versatile Tool in the Shed
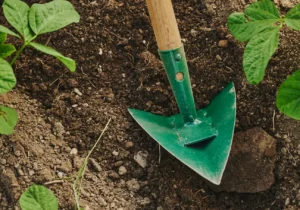 The Japanese-style Katana Hoe has a pointed, spoon-shaped blade sharpened on all sides.
Draw planting furrows, cover seed rows with a backstroke, weed between tight-spaced plants, and hill crops like leeks and potatoes all with the same tool.
I co-designed this with Growers & Co. In my opinion, it is nearly perfect.
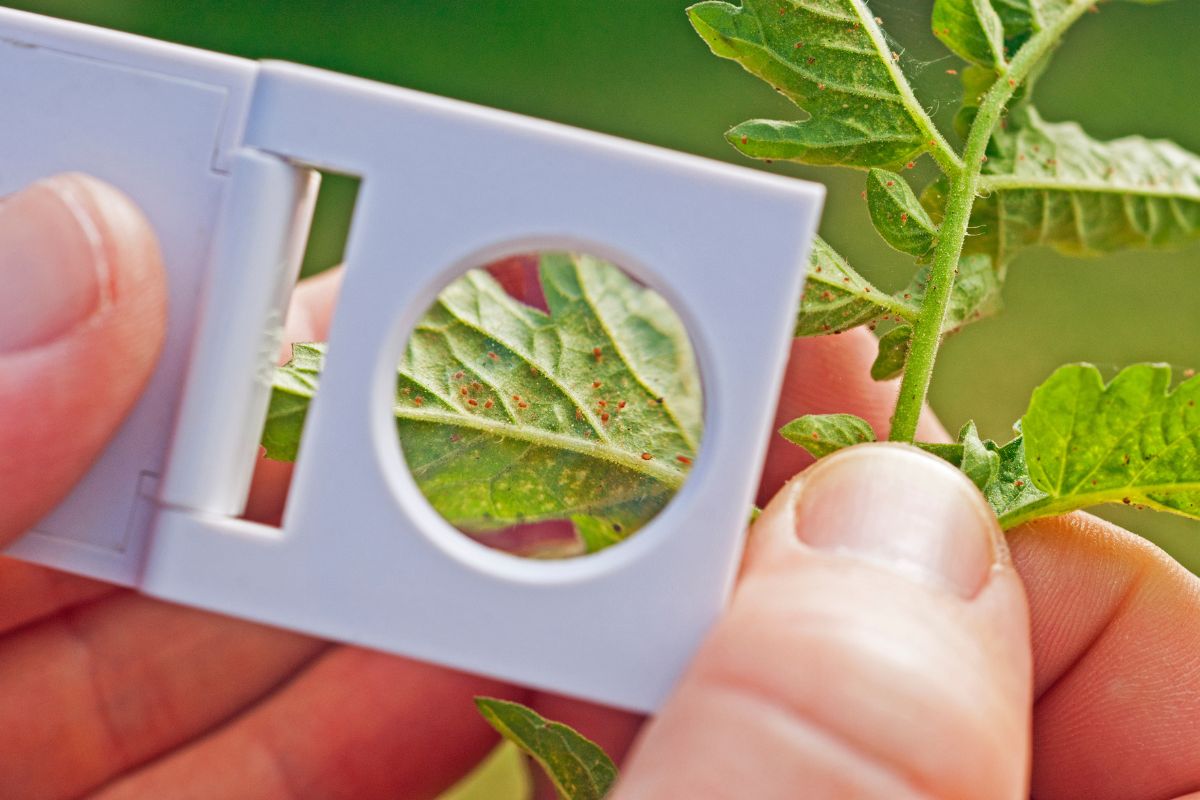
16. Insect Netting: The Single Best Pest Prevention Tool
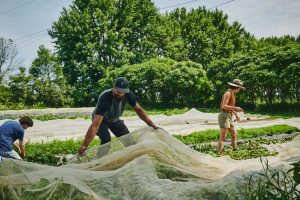 Forget spraying. The best organic pest control is a physical barrier installed before the pests arrive.
Lightweight insect netting stretched over low wire hoops blocks flea beetles, cabbage moths, carrot rust fly, and root maggots.
The key rule: install it immediately after seeding or transplanting, before any damage occurs. Reusable, affordable, and zero chemicals required.
17. Floating Row Cover: Extend Your Season by 4–6 Weeks
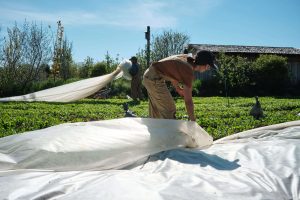 Floating row cover protects against insects and traps heat simultaneously. Laid over hoops, it creates a microclimate that can stay several degrees warmer than outside air, even through light frosts.
Use it in early spring to transplant 2–3 weeks ahead of the last frost date, and in fall to extend harvests of kale, spinach, no arugula, and mâche well into late autumn. Layered inside a greenhouse, it can protect crops through 23°F (−5°C).
18. Drip vs. Overhead Watering: Know Which Crops Need Which
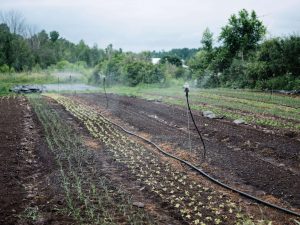 Use drip tape for fruiting crops (tomatoes, peppers, cucumbers, zucchini) to keep foliage dry and prevent fungal disease. Use an oscillating sprinkler for leafy greens (lettuce, mesclun, spinach, arugula) — they tolerate wet leaves and need even coverage.
Never water in the evening. A soil moisture meter is one of the cheapest, most reliable tools you can buy.
Most beginners overwater, which weakens roots and promotes disease.
19. Prune at the Right Time — And Use a Great Pruner
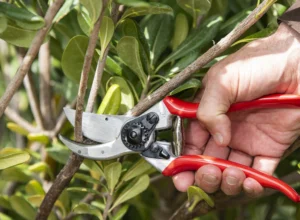 Professional growers don’t just plant and wait. We guide plant growth at the right moment. A few clean cuts can improve airflow, reduce disease pressure, stimulate regrowth, and help plants put their energy where it matters most.
For indeterminate tomatoes, remove suckers while they’re still small. With peppers, be more careful: in short seasons, heavy pruning can delay harvest. I prefer removing damaged lower growth and harvesting fruit cleanly with pruners. Never yank peppers from the plant — the branches break easily.The best pruners I’ve used throughout my career are Felco pruning shears. They make clean cuts, feel good in the hand, and are built to be maintained instead of thrown away. A good pruner becomes an extension of your hand — and Felco has been that tool for me, season after season.
Part 4 — Starting from seed like a professional
20. Start With Quality Seeds — Heirloom and Open-Pollinated When Possible
Seed quality is the foundation of everything. Open-pollinated and heirloom seeds are adapted to real growing conditions through generations of selection, are saveable, and are often dramatically superior in flavor compared to commercial hybrids.
Trusted suppliers: Johnny’s Selected Seeds, High Mowing Organic Seeds, West Coast Seeds, William Dam Seeds, and Tourne-Sol Cooperative (Québec).
21. You Only Need Two Tray Sizes to Start Everything
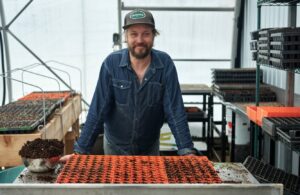 Professional market gardeners don’t own 15 different seed-starting containers.
Most use just two: 72-cell trays for larger seedlings (chard, kale, broccoli, kohlrabi) and 128-cell trays for smaller, faster-growing seedlings (lettuce, basil, most brassicas).
Add a dozen 4-inch pots for crops that need potting up (tomatoes, peppers, eggplants, cucumbers), and you’re fully equipped for an entire season.
22. Use a Heat Mat. The Biggest Germination Upgrade You Can Make
Most vegetable seeds germinate best when soil temperature is between 70°F and 75°F (21–24°C) — not air temperature, soil temperature. A seedling heat mat maintains the root zone at the ideal temperature, delivering faster and more even germination. Pair it with a dome cover during germination, then remove both once seedlings emerge. Add a small fan on a timer — it strengthens stems and prevents damping-off.
23. Harden Off Your Transplants. Never Skip This Step
Hardening off means gradually acclimatizing indoor-grown seedlings to outdoor conditions before planting permanently. Start with 2–3 hours outside in a sheltered spot on day one, increasing exposure over 7–10 days. Use a floating row cover during this period, it softens the transition significantly. Skipping this step is like sending someone straight from a warm office into a blizzard.
24. Bury Tomato Stems Deep : A Pro Trick Worth Knowing
When transplanting tomatoes, bury the stem up to the first set of true leaves. Tomatoes form roots from buried stem tissue — giving you a dramatically stronger, deeper root system from the start. For leeks, transplant into a 6-inch-deep furrow and gradually hill soil up around the stems as they grow, blanching the stalks white and tender.
Part 5 — Feeding the soil that feeds you
25. Your Soil Is Alive, Feed It, Not Just Your Plants
A teaspoon of healthy soil holds over 100 million microorganisms. This living community is responsible for releasing nutrients, maintaining soil structure, and protecting plants from disease. Apply a generous layer of compost (1.5–2 inches) to heavy-feeding crops at planting, a lighter layer (1 inch) for moderate feeders, and a liquid organic fertilizer like fish emulsion for fast-growing greens. No synthetic inputs needed.
26. Make Your Own Compost. It’s Simpler Than You Think
The ratio that unlocks great compost: 1 part greens to 3 parts browns (by volume). Greens are nitrogen-rich materials (vegetable scraps, grass clippings, coffee grounds). Browns are carbon-rich (dead leaves, straw, shredded cardboard). Keep the pile as damp as a wrung-out sponge. Turn it every 1–2 weeks. After 3–12 months you’ll have dark, crumbly, earthy-smelling compost that transforms any garden bed.
27. Use the Best Organic Fertilizer You Can Find
 Your soil is like your gut. When it is alive, balanced, and well fed, everything works better. Plants grow with more vigor. Roots explore more deeply. Leaves resist stress. Harvests become more abundant and more flavorful. This is why good organic fertilizer is not just about yield. It is about plant health, soil health, and the long-term vitality of the garden.
For heavy feeders — tomatoes, peppers, eggplants, cucumbers, squash, cabbage, broccoli, kale, cauliflower, and other brassicas — compost alone is not always enough. These crops need real nourishment during the season. A balanced organic fertilizer helps keep nutrients flowing without bypassing soil biology.
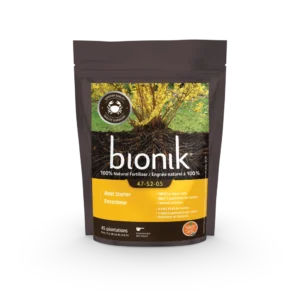
One line I particularly like is Gloco’s organic Bionik fertilizers. Their formulas are designed for organic growing and are built from natural ingredients that support both crops and soil life. I especially like the formulas that include snow crab meal, such as Bionik Root Starter, because crab meal is rich in chitin and brings valuable organic matter into the soil. Simple rule: treat your soil well and your plants will show you the result.
28. Rotate Crops in Four Sections — Prevent Disease Without Chemicals
Divide your garden into 4 sections, each growing a different plant family:
- Section 1: Nightshades (tomatoes, peppers, eggplants, potatoes)
- Section 2: Brassicas (cabbage, broccoli, kale, radishes)
- Section 3: Legumes and roots (beans, peas, carrots, beets)
- Section 4: Cucurbits and leafy greens (zucchini, cucumbers, lettuce, spinach)
Each year, every section advances one position. After four years, the rotation is complete. Simple, reliable, and deeply effective.
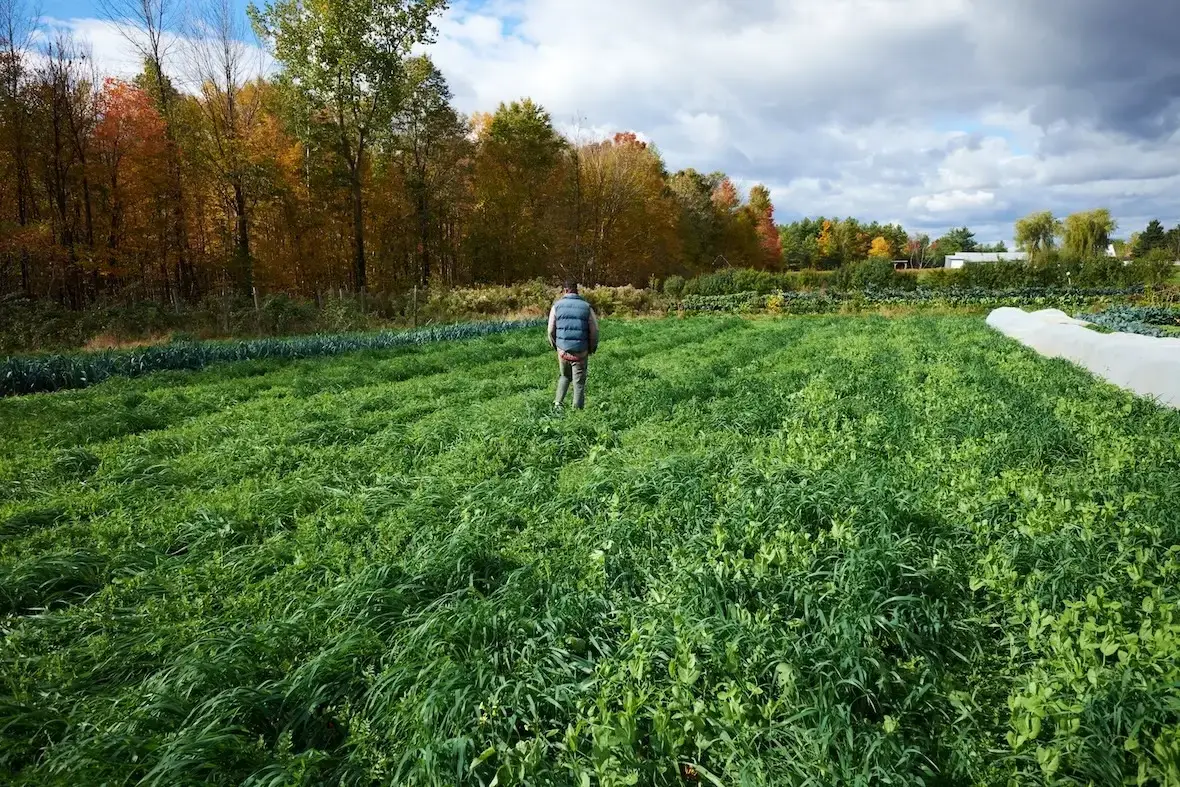
29. Plant Green Manures to Feed Your Soil While It Rests
Wherever you have an empty bed, plant a cover crop instead of leaving bare soil. Green manures like clover, oats, rye, mustard, vetch, or phacelia are planted not to harvest but to nourish the soil. They fix nitrogen from the air, loosen compacted subsoil, suppress weeds, and feed microbial life during the off-season. Cut them down before they flower, let them wilt for a few days, then lightly incorporate into the top inch of soil.
Part 6 — Harvest more, preserve more, grow year-round
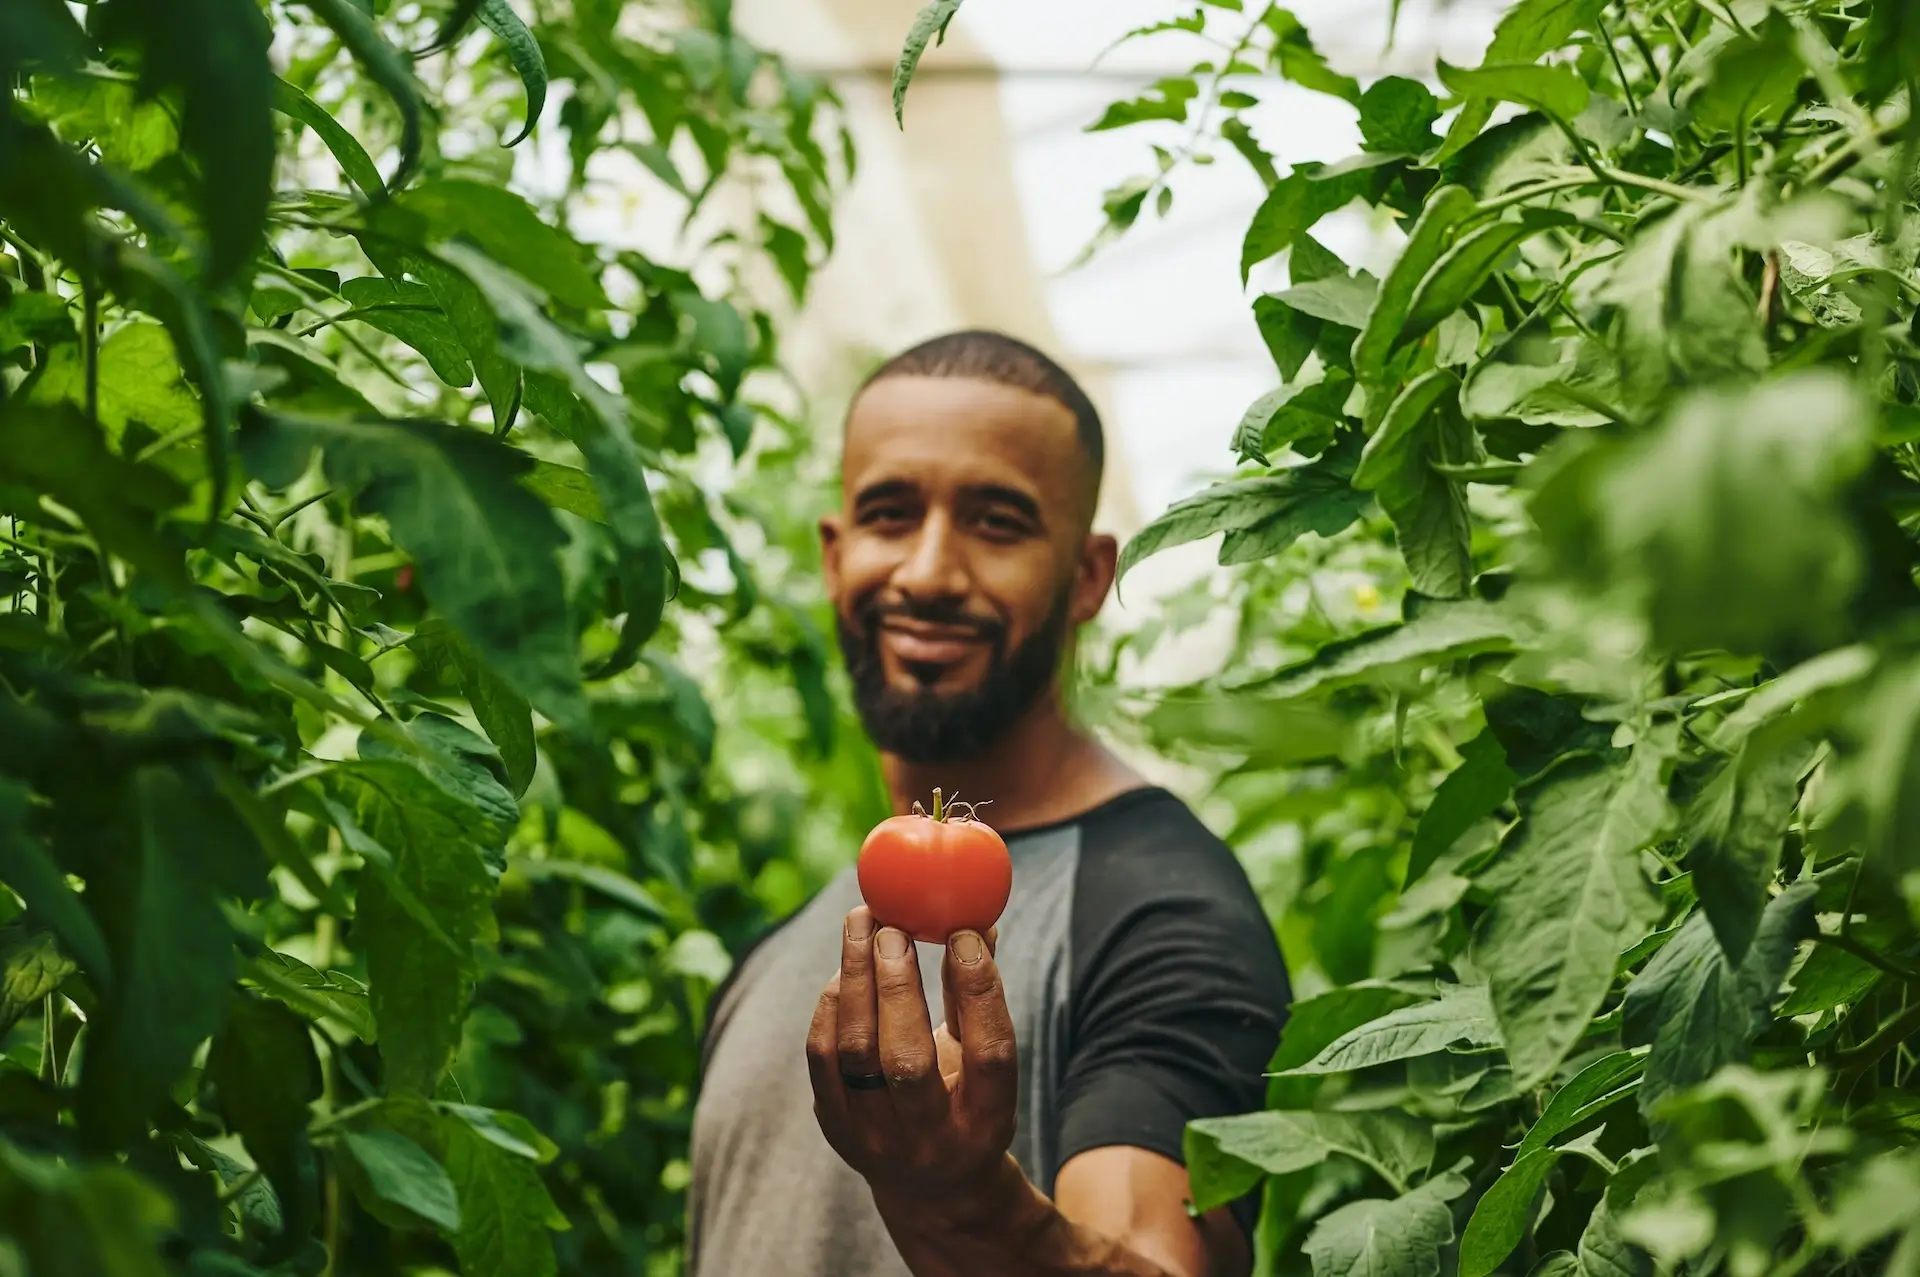
30. Harvest at Peak Ripeness And Learn the Pro Cues for Every Crop
The closer to harvest time a vegetable is consumed, the more vitamins, minerals, and antioxidants it contains. A few field-tested cues:
- Tomatoes: richly colored and slightly firm — twist gently; if it releases easily, it’s ready
- Zucchini: harvest at 5–7 inches; beyond that, flavor and texture decline fast
- Carrots: shoulders just peeking above soil, about ½ inch diameter — sweet and tender
- Corn: silks brown, husks still green; press a kernel — milky juice means perfect
- Beans: pods firm but seeds not yet swelling; regular picking encourages more production
- Garlic: one-third to one-half of lower leaves dried; cure for 2–3 weeks before storing
A sharp harvest knife is non-negotiable. My tool of choice for 30 years: the Opinel field knife — a simple French blade available through Growers & Co. (growers.co). I’ve given one to every farm apprentice I’ve ever trained. It’s a simple gesture that says: you’re ready now. This is your tool.
The Philosophy Behind All of This
Every one of these 30 tips comes back to the same idea: gardening is a craft, and a craft improves with method. Most home gardeners garden by intuition and trial and error. That works (eventually) but it wastes seasons and misses the most joyful part of the work: the rhythm of a garden that truly produces.
That’s what the professional market gardener’s method offers the home grower. Not complexity. Not expensive equipment. Not chemicals. Just a clear, repeatable system shaped in the field over 25 years, and available to you, right now.
My new book, In Your Garden: The Complete Guide to Home Vegetable Gardening, covers every one of these topics in complete depth. And for professional-grade tools designed specifically for the permanent bed system.