


Looking for a great tool to keep weeds in check? Wondering how to flip a bed following no-till principles? Use silage tarps – trust us, this is a game changer that will make farmlife a whole lot easier.
The beauty of this “tool” is that it is highly effective, inexpensive, and easy to get your hands on! Once you learn how to properly use them, silage tarps can really work miracles for your farm.
Here’s our advice on how to apply them and reap their benefits!
Getting started
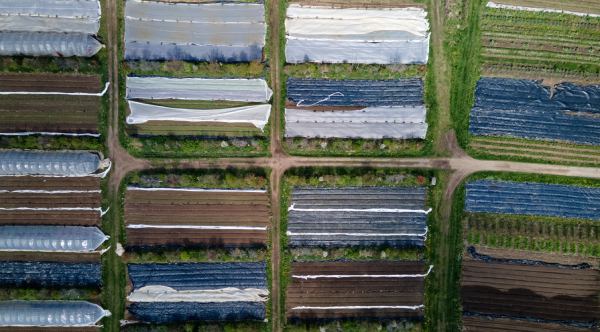
After you purchase your tarps, you will need to cut them to fit your bed system. For example, if you have a site that consists of ten 100 ft permanent beds, you should cut your tarps to be the equivalent of approximately five beds so that you end-up with a ratio of covering two beds per tarp.
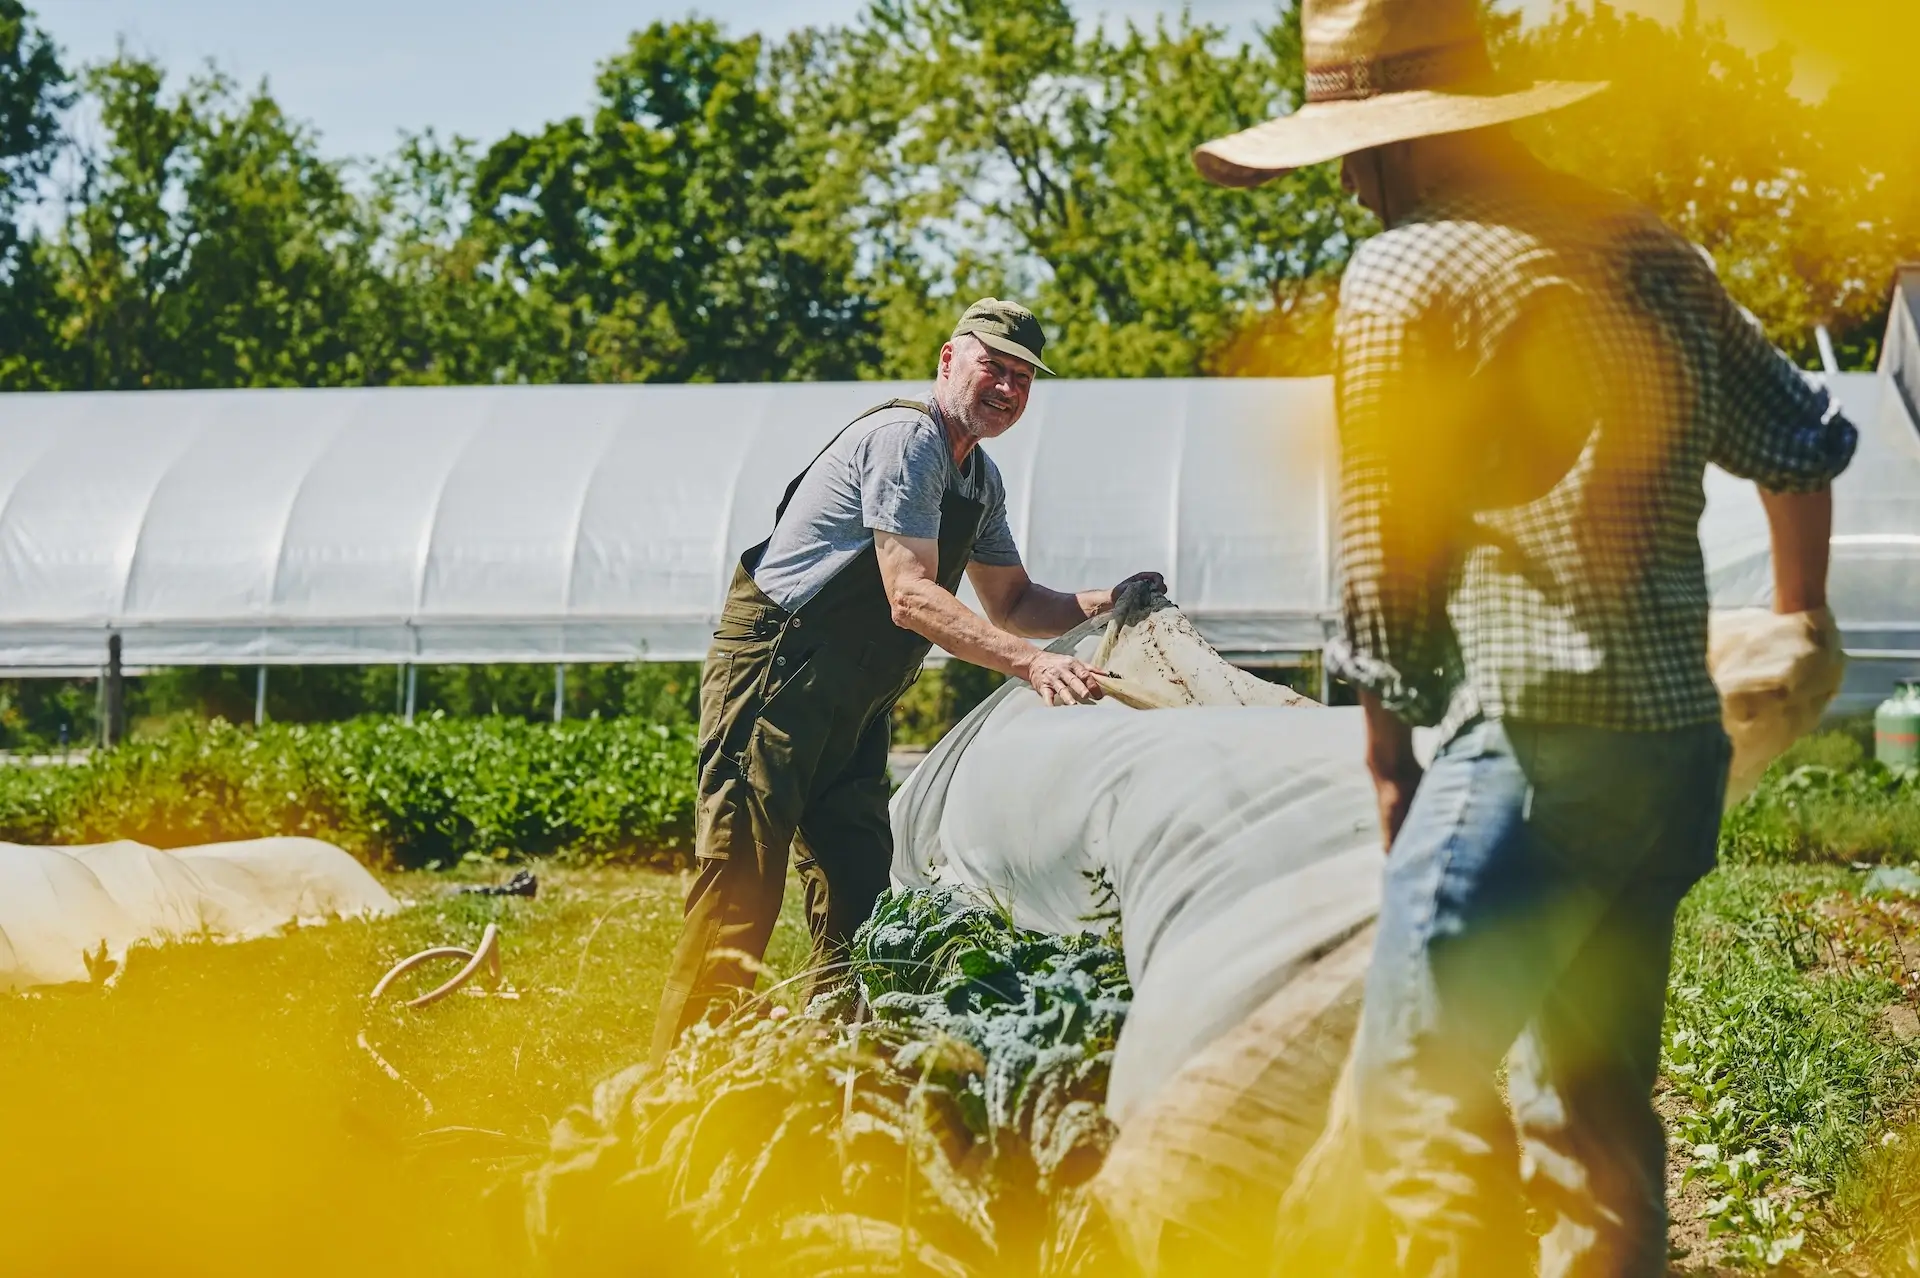
To keep them in place (very important!), you will also need to purchase a sufficient amount of sandbags that you’ll place along the perimeter of the tarped beds. These should be UV treated and can be filled with everything you can get your hands on: rocks, sand, soil, etc… the best ones should last 5 + years and we recommend using these ones.
Based on our experience, to properly secure your tarps, sandbags should be placed every two-steps (+/- 5 feet). If you face a windy day and your tarps are not well-secured by enough of these heavy bags, we GUARANTEE that they are going to fly away.
Tips on ways to use silage tarps
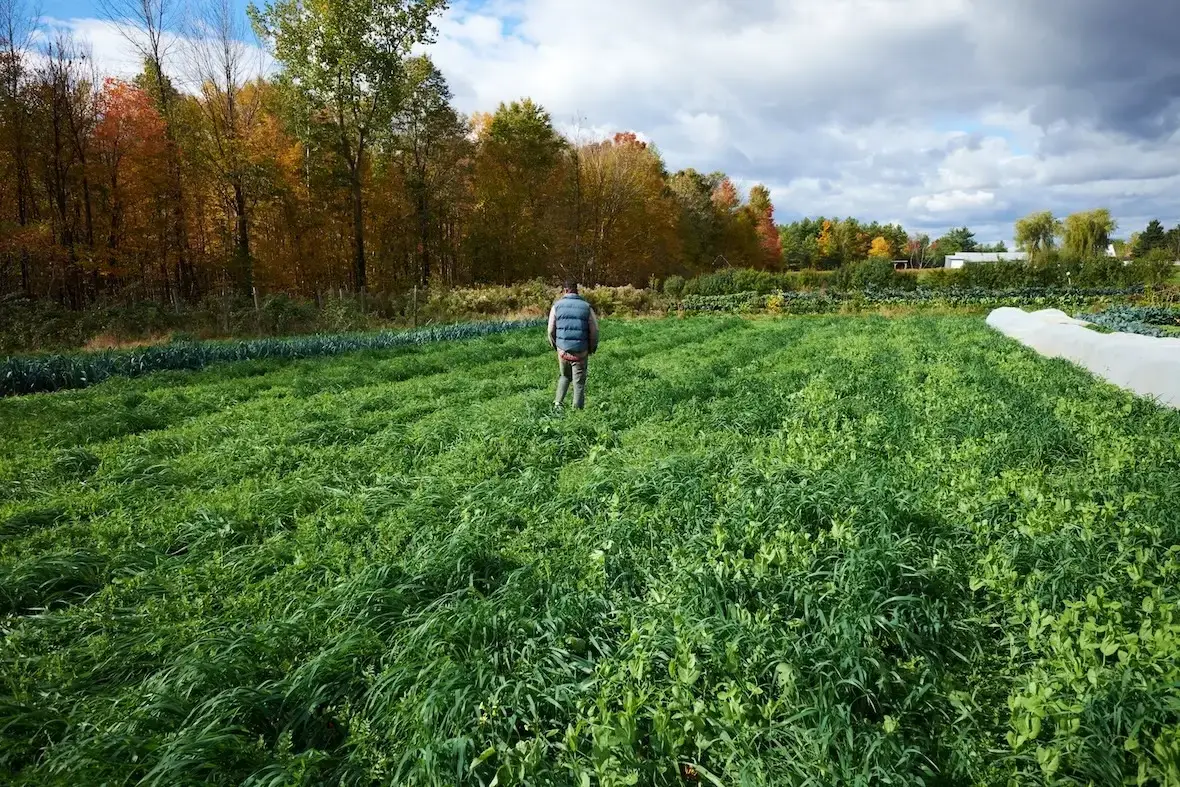
There are easy ways to use silage tarps right away in your crop rotations to improve soil fertility and reduce weed pressure. For example, if you want to incorporate a green manure on an existing bed in order to transplant a new crop, we recommend the five steps below:
- Pass the flail mower over your designated bed;
- Pass the rotary plow through the aisles to cover your disintegrated green manure with some soil;
- Water your beds to accelerate the decomposition process;
- Place your tarps over the beds and secure them with a sufficient amount of heavy bags, placed strategically along the perimeter of the beds.
- Leave the tarps on the beds for at least 2-3 weeks before removing them and transplanting or seeding a new crop. During the hottest parts of the summer, two weeks can be enough time but otherwise, it should be at least 3 weeks.
The process to use silage tarps
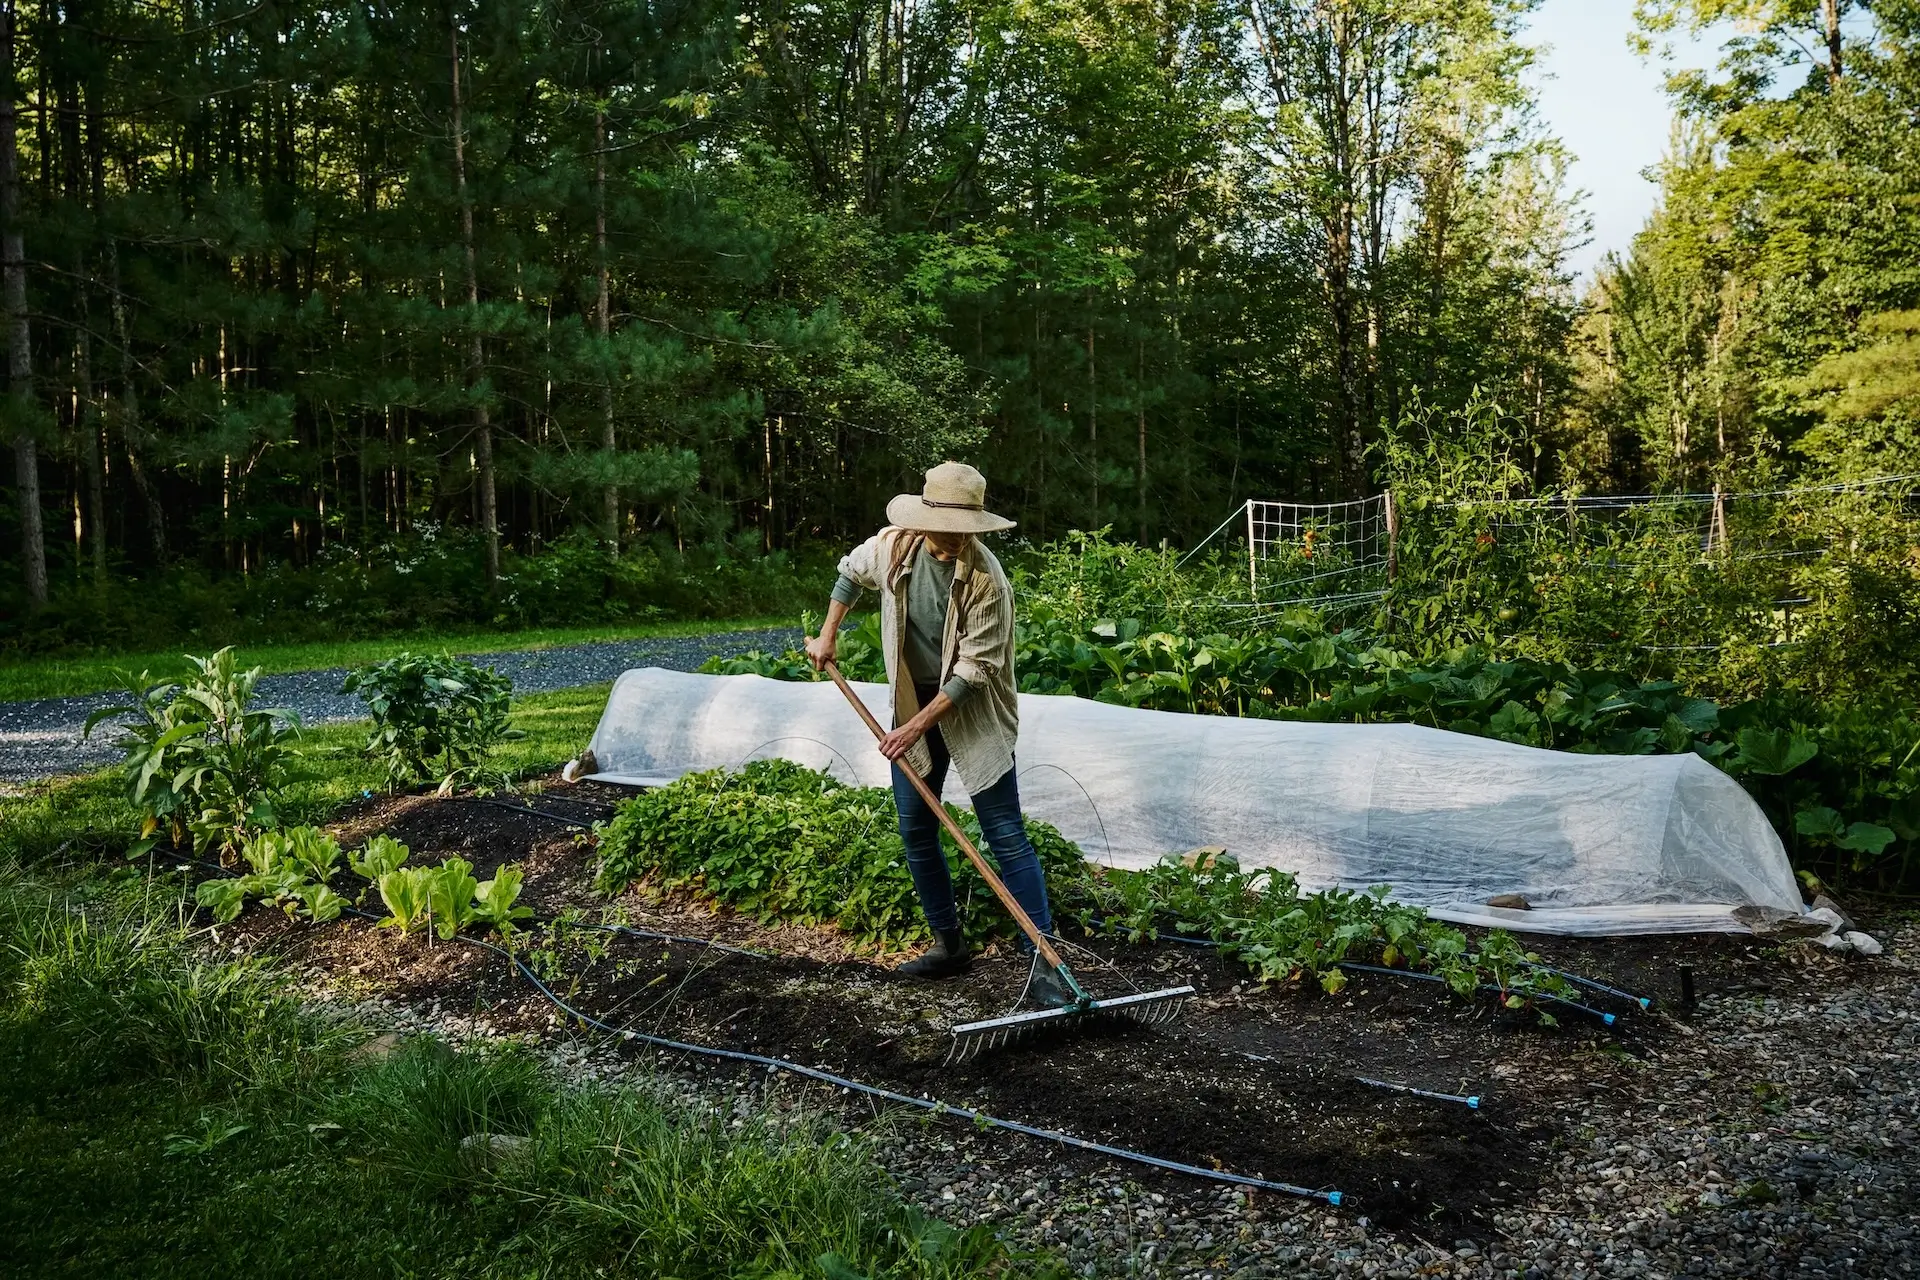
- As soon as a crop has been harvested, flail mow it and cover it with a tarp for at least 2-3 weeks. The tarps are held in place by folding the edges along the garden bed and securing the perimeter with heavy bags. This is a time-sensitive operation so do not wait too long before you cover the beds. This will allow you to have fast successions of crops, and by extension, to get more out of each bed!
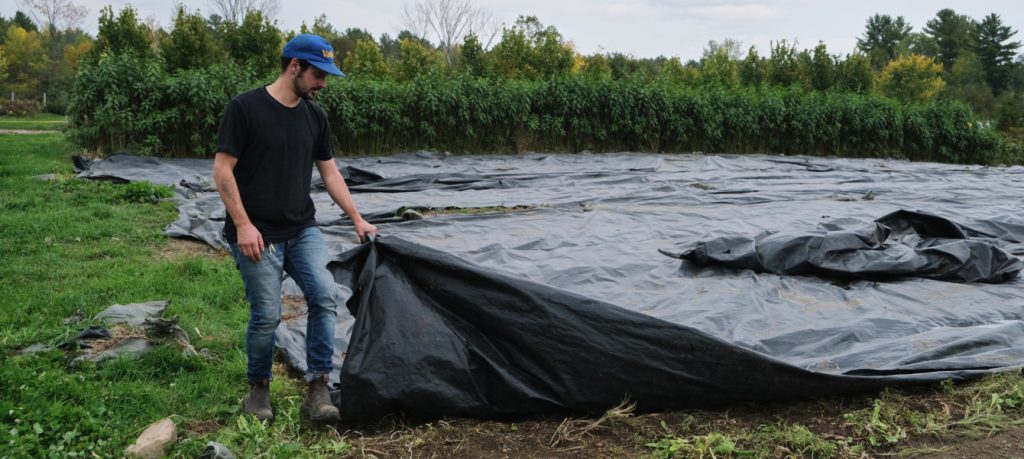
- Once you’re ready to “put the beds to bed” at the end of the growing season, make sure to cover them with tarps until the spring. This will protect your soil from erosion.
- Ideally, you should have enough tarps to cover all of your beds. Avoid having to repeatedly move your tarps – especially as rain can make them pretty heavy.
- When your tarps are no longer required, fold them along the sides of the garden. And secure them in place with some sandbags.
Since effective time-management is highly important for a successful farming system, using tarps can increase efficiency and provide the opportunity to accelerate your overall production. Consequently, you can benefit from the positive financial rewards of reduced weed pressures (less weeds = a more bountiful harvest!), while maintaining good soil health. What are you waiting for?
Want to explore more equipment options for your small farm? Take a look at our yearly roundup of 30 must-have small farm equipment.